Granby Spruce Log Home Restoration: Blasting & Primer
A Colorado restoration field study · Granby
A better finish begins before the stain. On this large spruce log home, the important change was not a new color. It was removing years of accumulated coatings and giving the next finish a more consistent surface to work with.
The owner reported that multiple incompatible coatings had accumulated over the years. Our goal was to remove those legacy layers, reveal a sound surface, and prepare the wood for more consistent stain absorption—without erasing the character of the spruce logs or replacing the existing chinking as part of this documented work.
- Location
- Granby, Colorado
- Wood
- Spruce logs
- Confirmed sequence
- Blast → sand → prime
- Stage shown
- Preparation + Prelude
This is a project-specific look at log home restoration in Granby, in Grand County. The photos document surface appearance; the coating history comes separately from the owner.
01 / Read the whole wall
Before: an uneven starting point
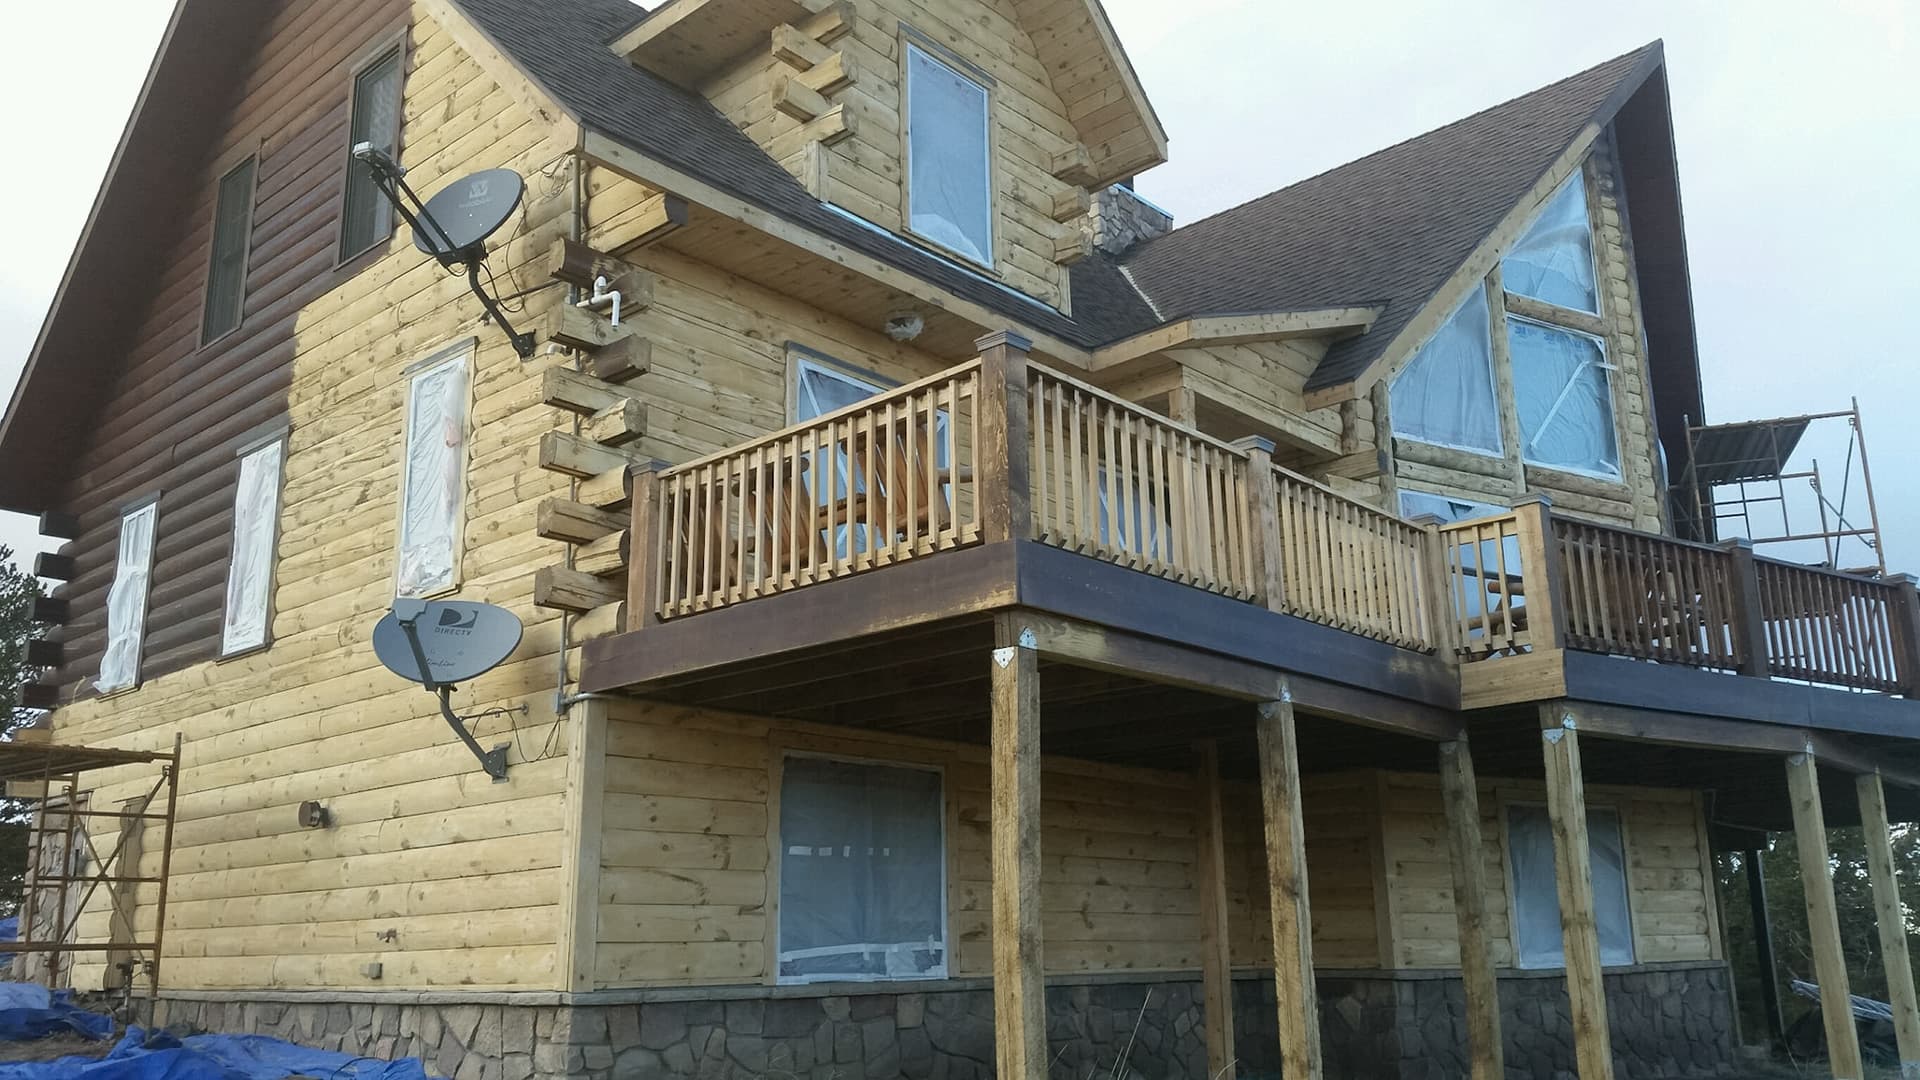
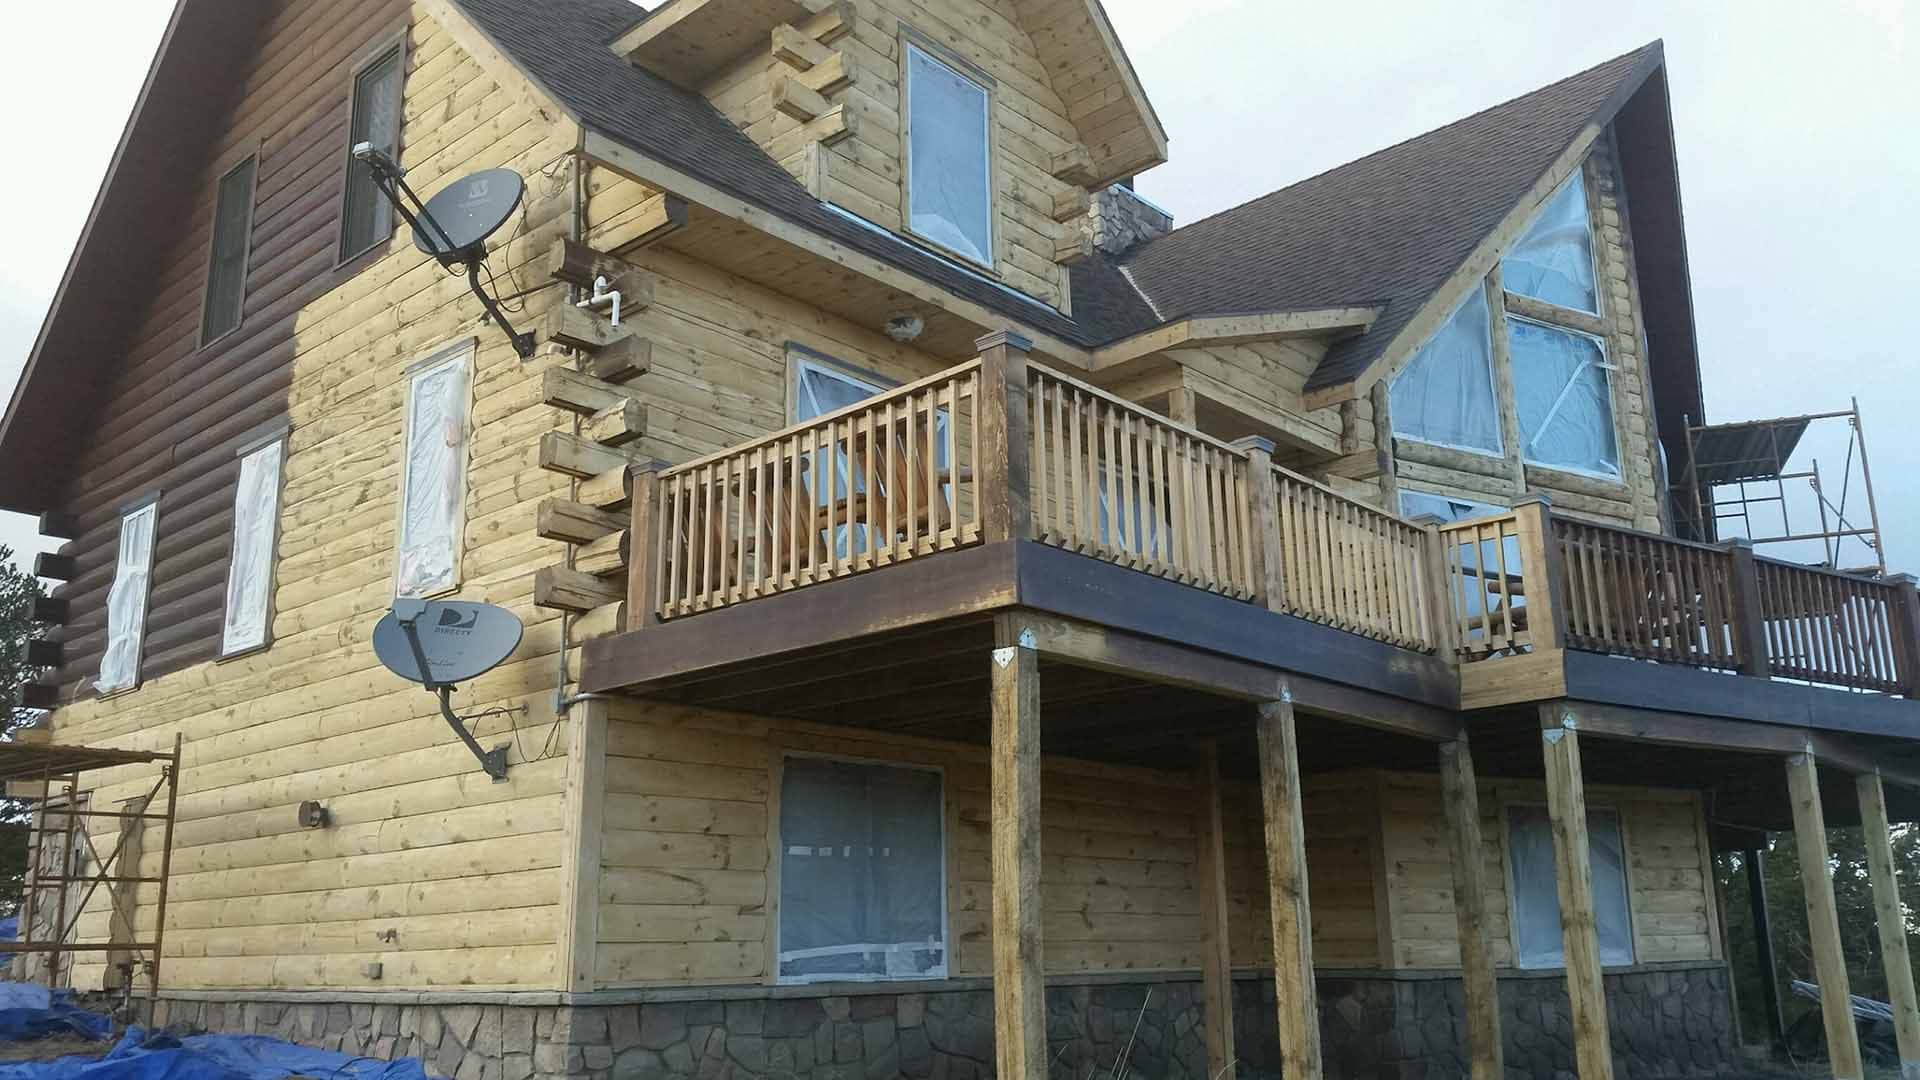
At the scale of an entire elevation, differences in color and sheen are easy to notice. Closer views show uneven amber and darker areas, lighter patches, and pronounced grain. The broad views also show wear on fascia. These are useful observations—not a chemical analysis of an old coating.
 Before / Aspen-side elevation
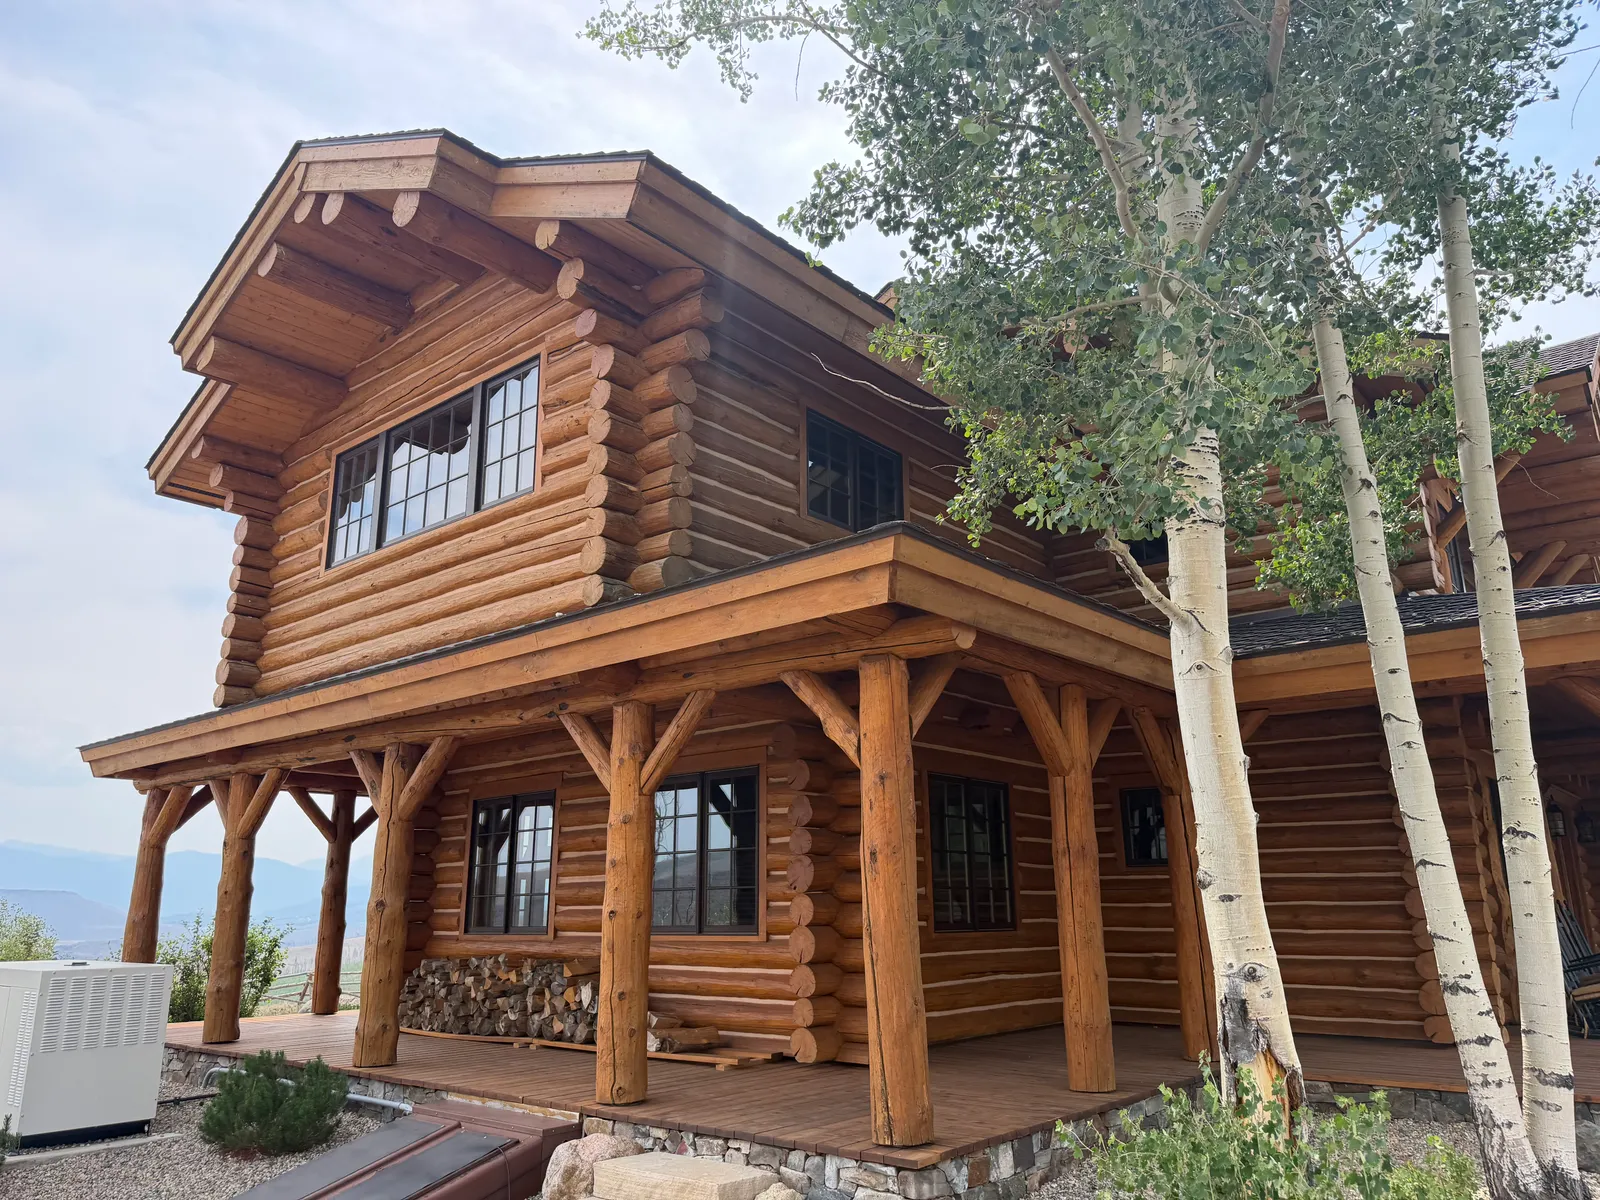
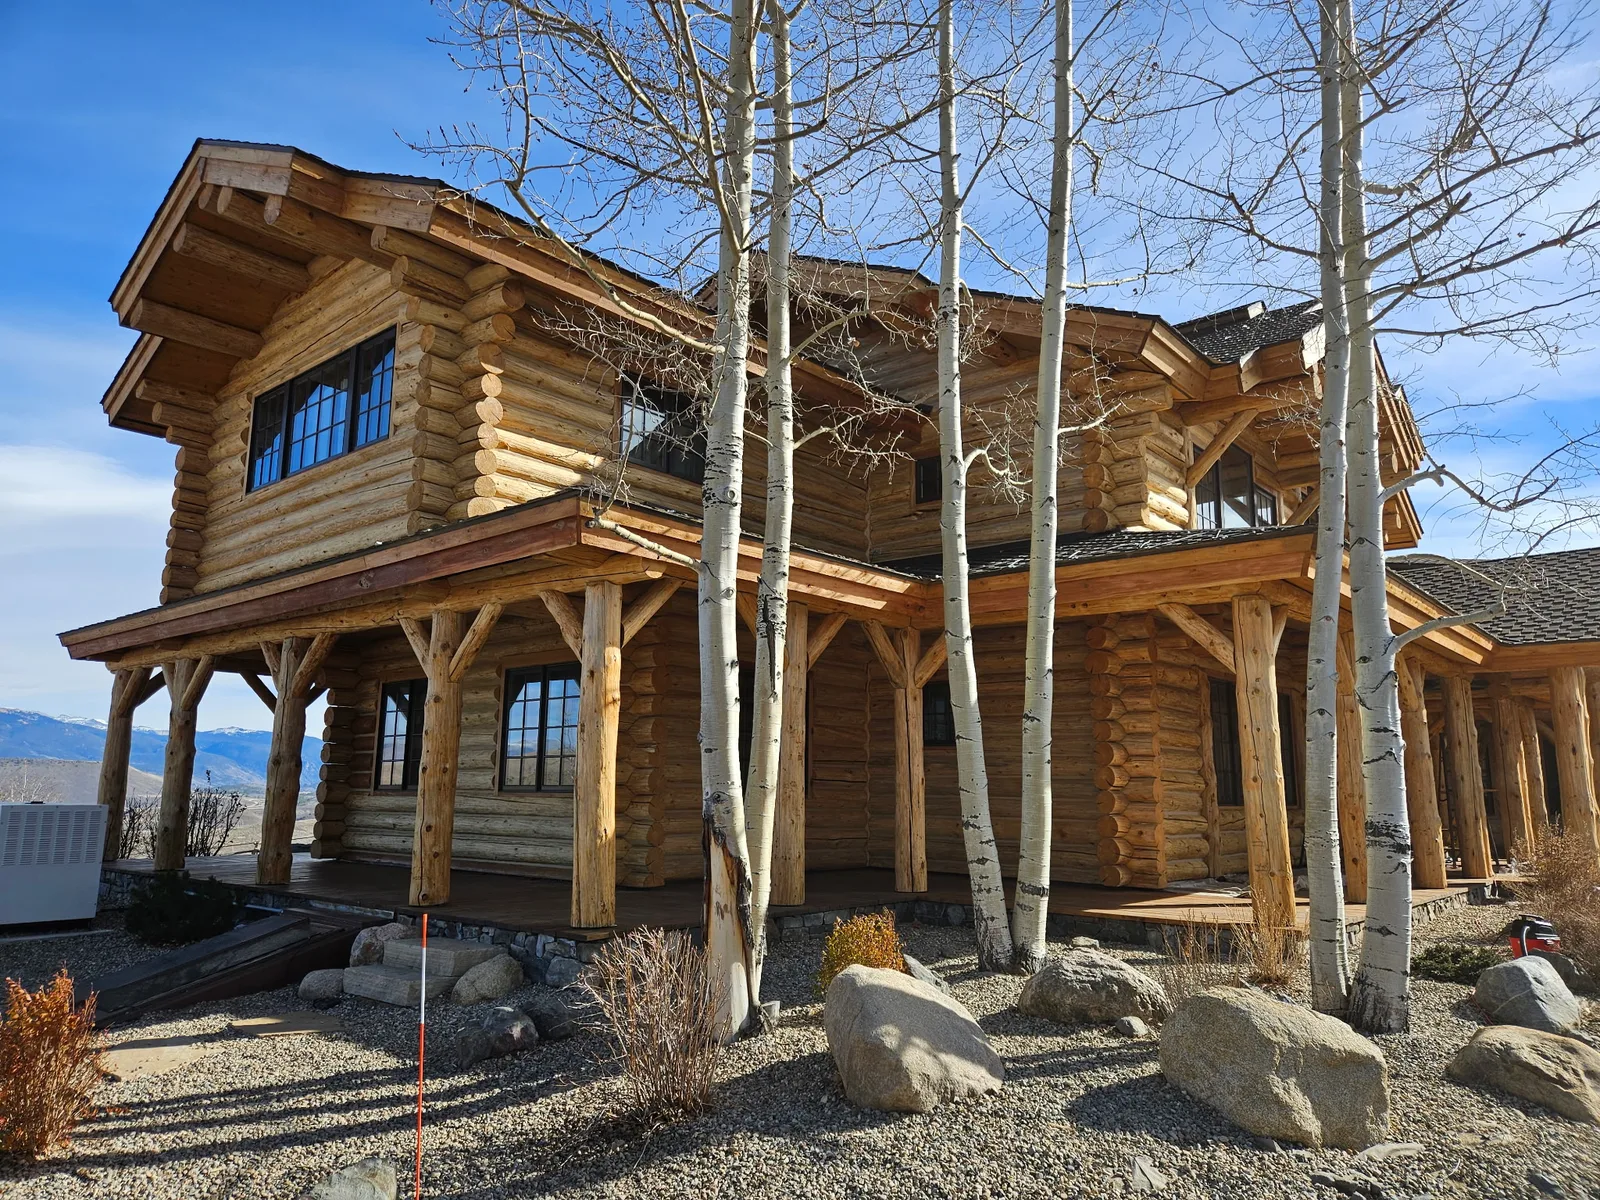 Prepared + Prelude / Aspen-side view
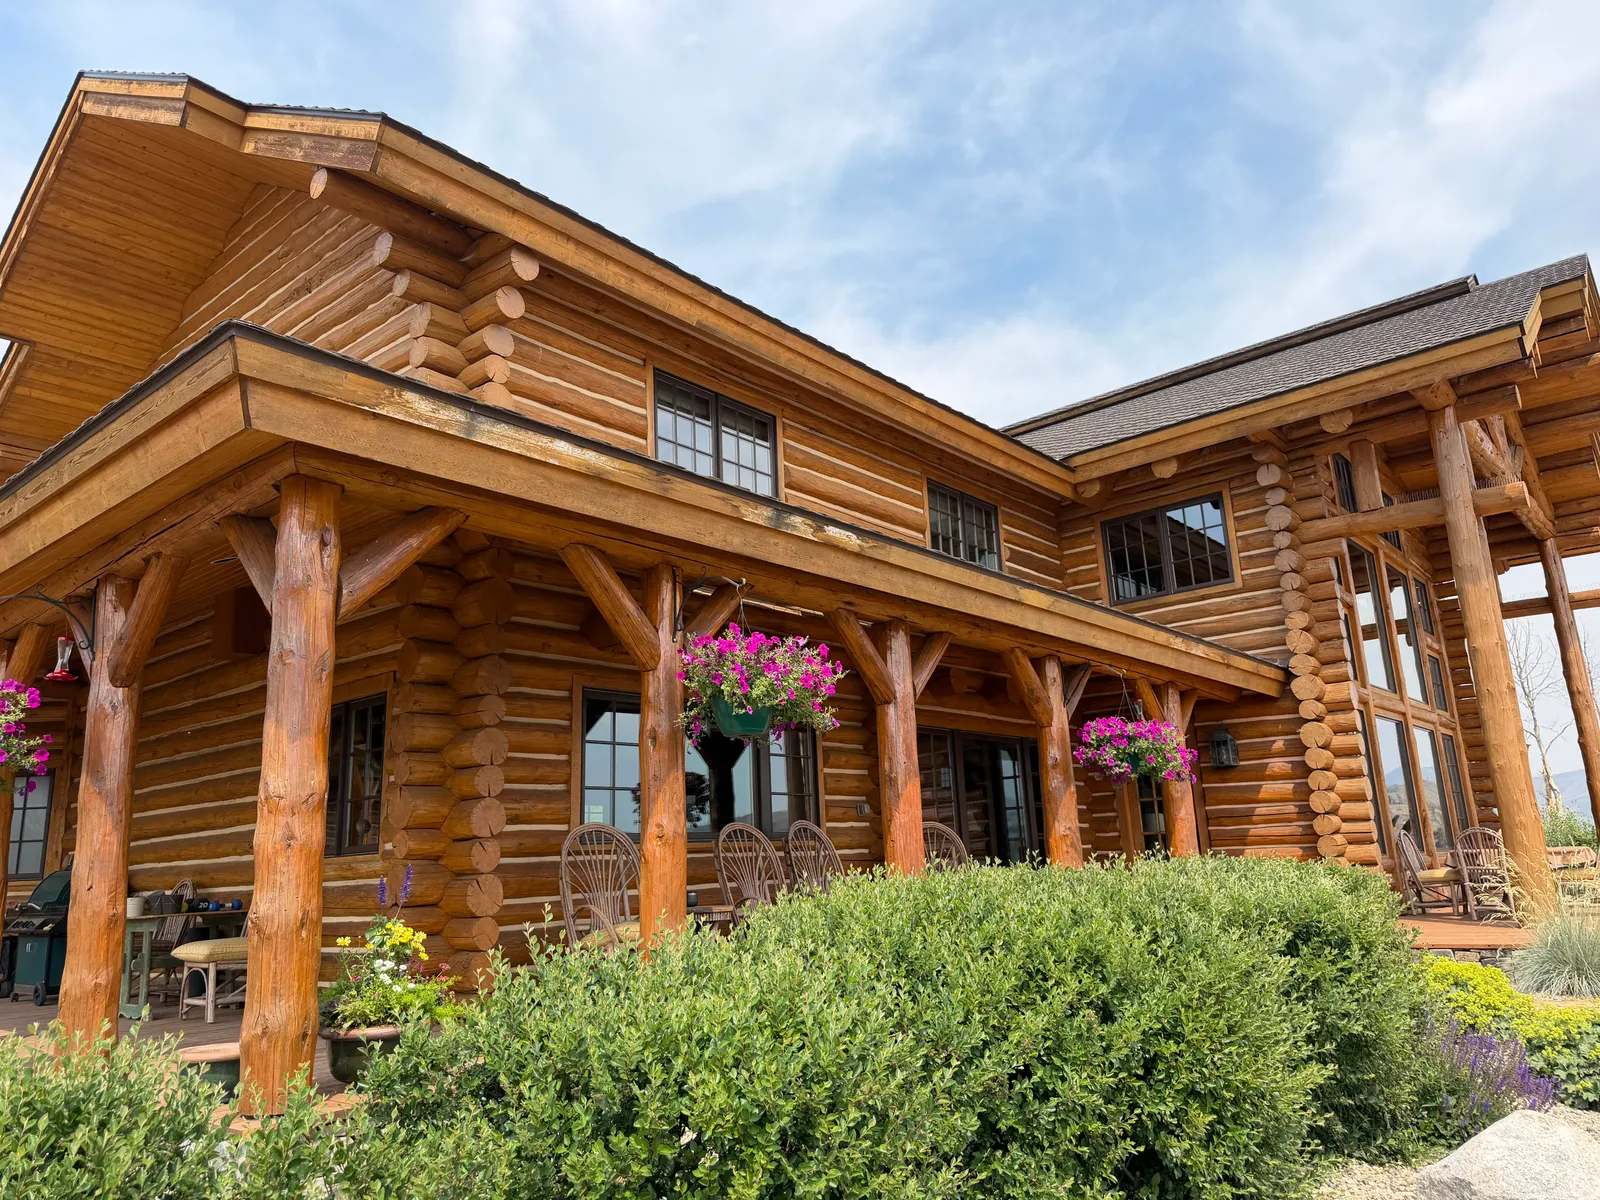 Before / Long wall
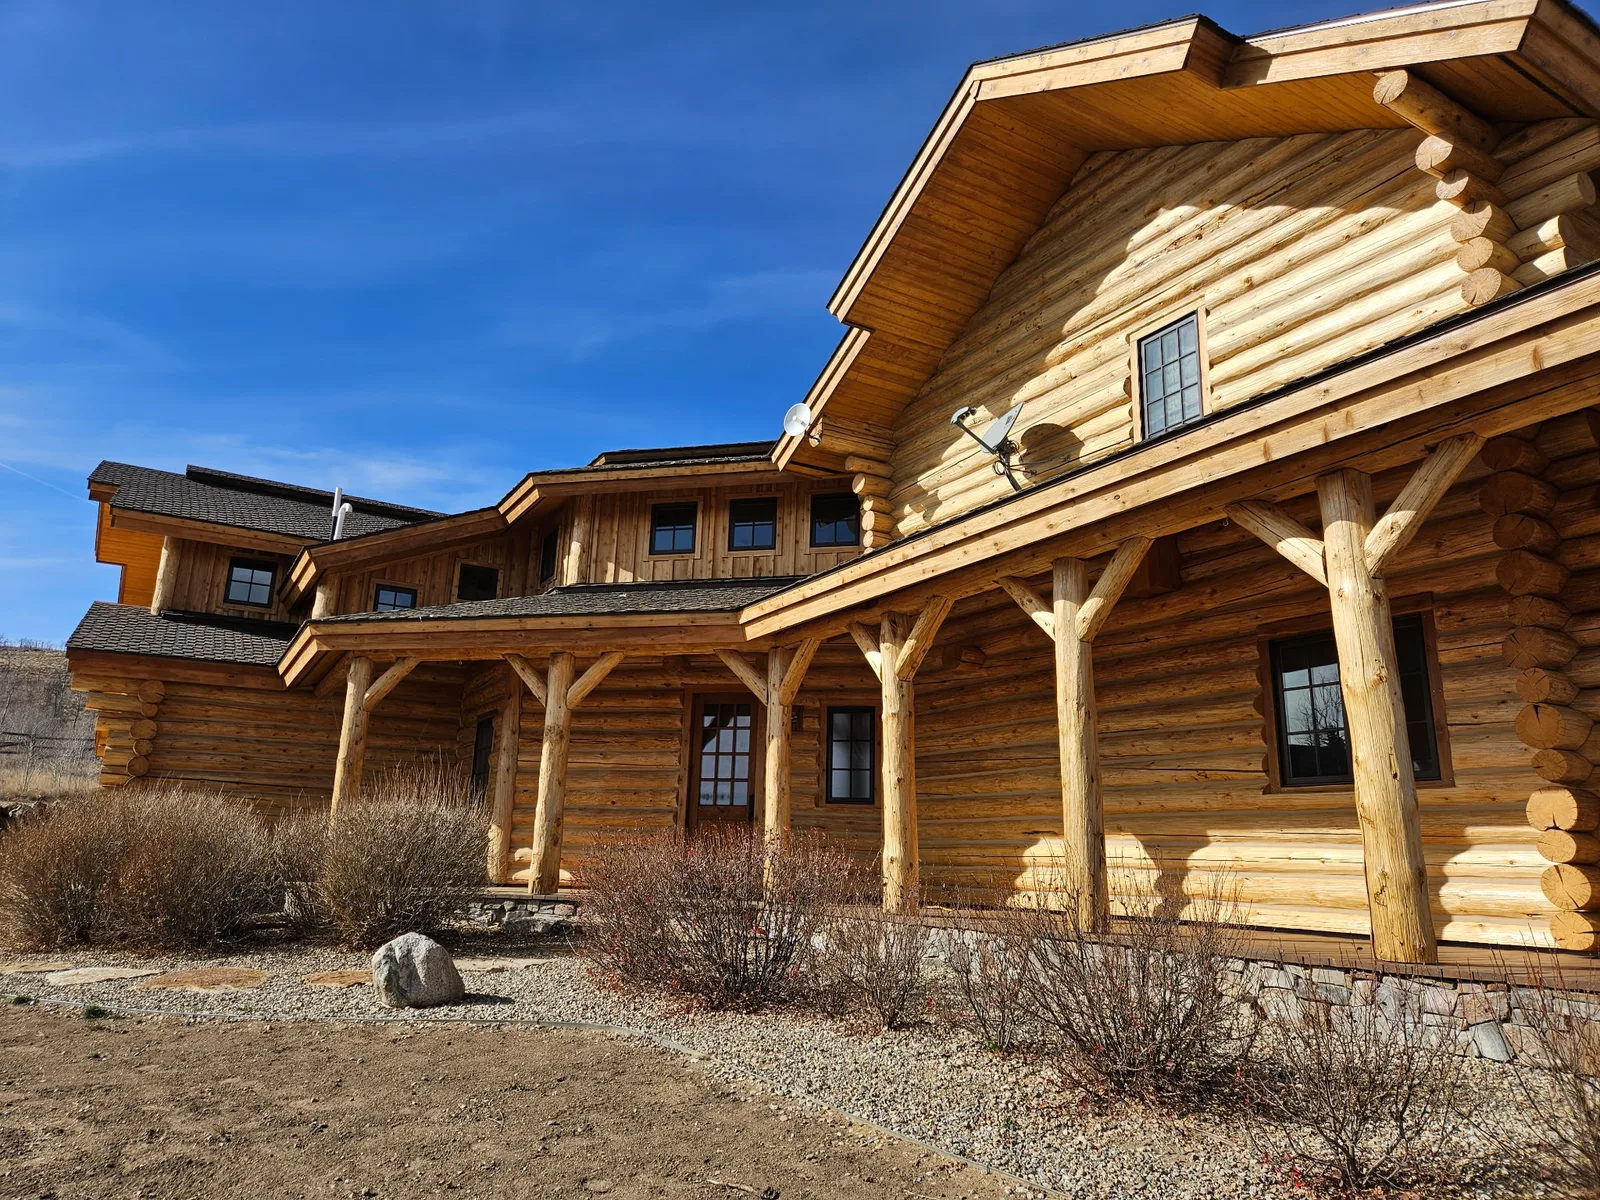 Prepared + Prelude / Side wall
02 / The surface, up close
What the photographs actually tell us
It is tempting to diagnose a wall from one photograph. We keep the reading narrower: visible checks, grain, chinking, and variation in the surface appearance. The numbered markers below are visual reading guides, not measured defect locations or repair specifications.
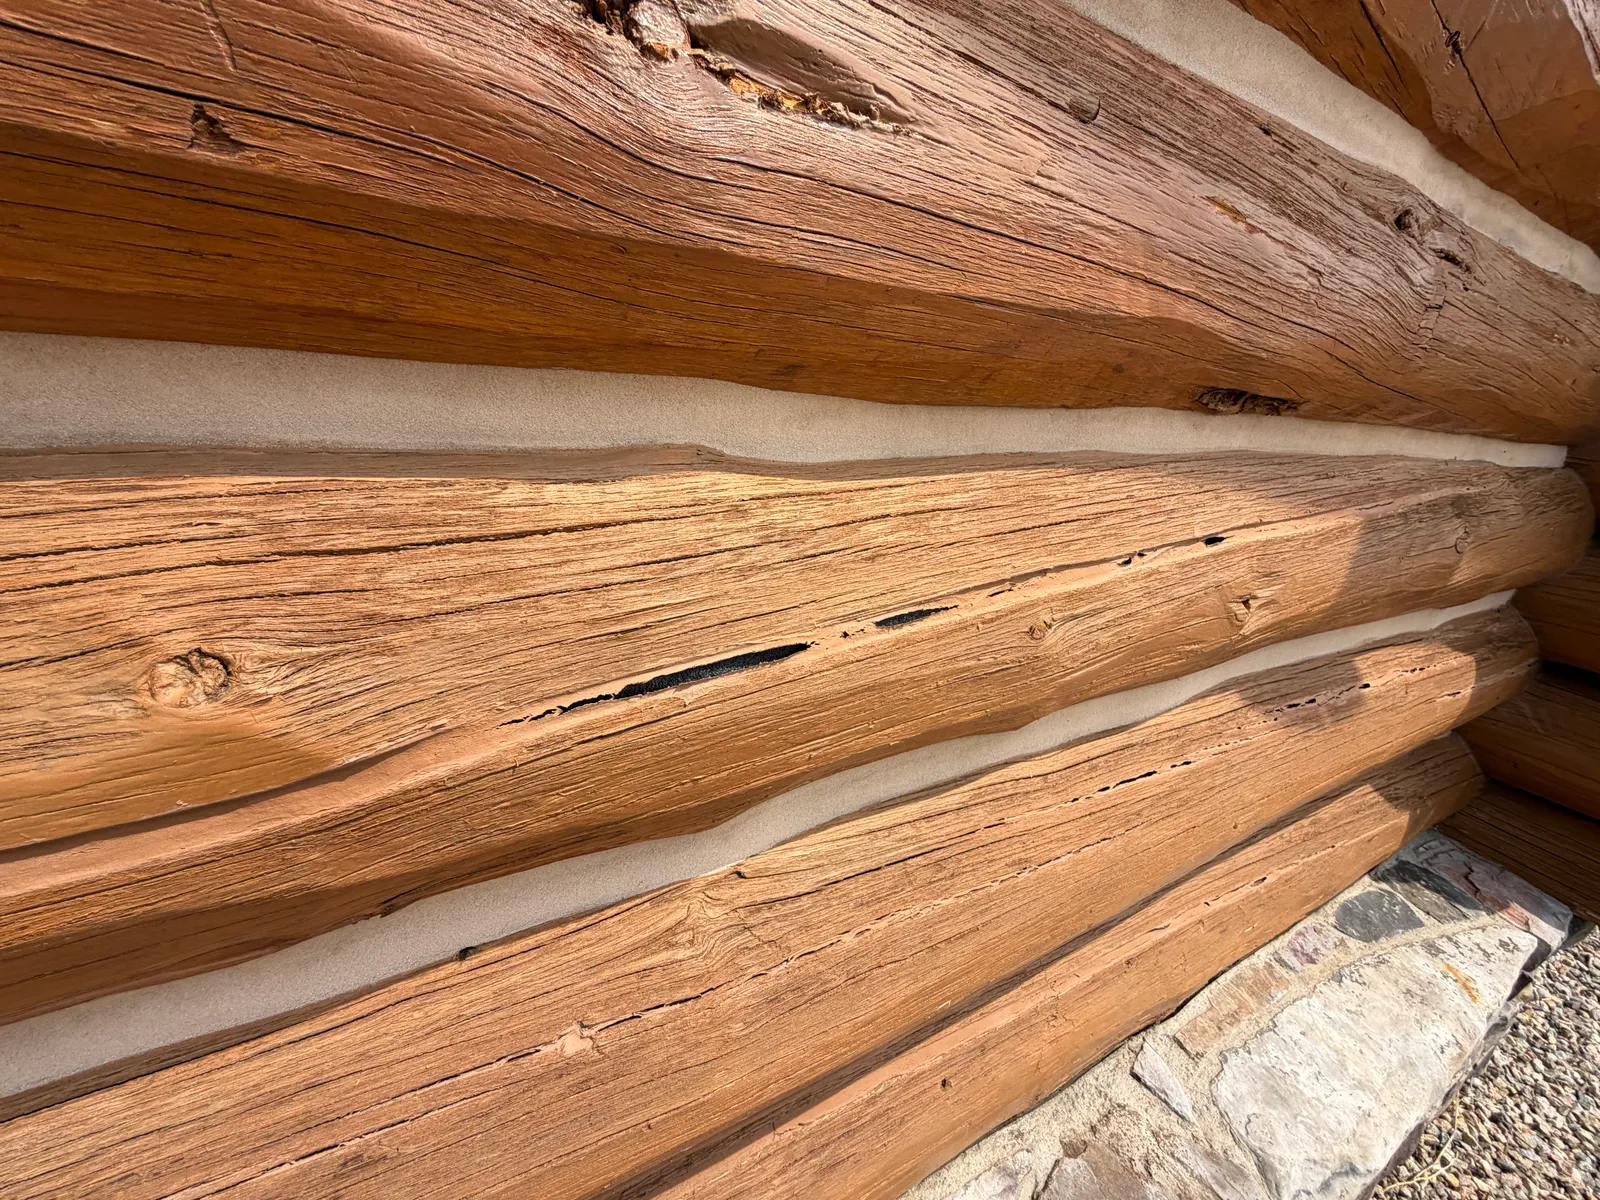
- 1Checks and grain. Horizontal natural checks and rough wood texture are visible. A photograph does not establish check depth or whether a particular check needs sealing.
- 2Wood beside chinking. Orange-brown log surfaces contrast with cream chinking. Keeping primer on the wood and off the existing chinking was part of the confirmed approach.
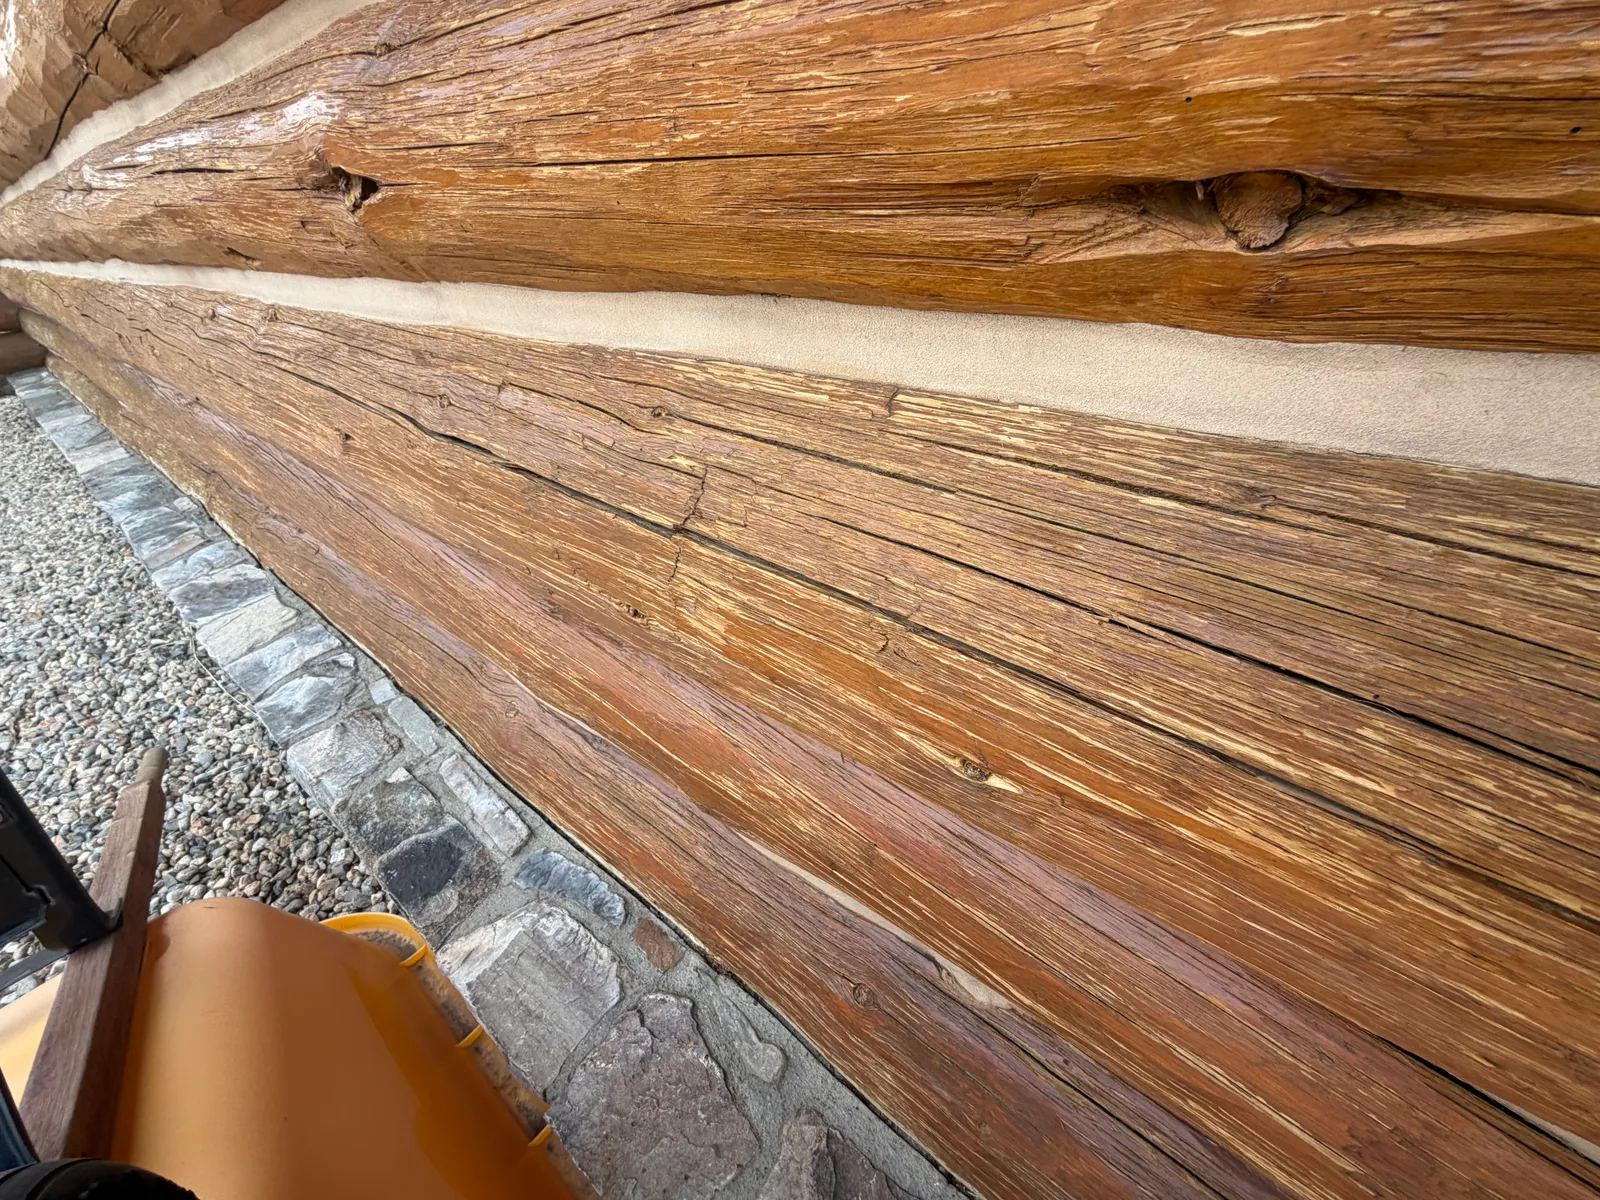
- 3Uneven appearance. Amber and darker areas sit alongside patchy, thinner-looking or lighter areas. Color alone does not identify a coating product.
- 4Pronounced texture. Grain and checks remain visible through the old appearance. The goal was a consistent starting surface, not sanding away the identity of the logs.
03 / The decision
Why another overcoat was not the goal
With the owner’s history of incompatible layers and a goal of more uniform absorption, simply adding another coat would leave the new work dependent on the old surface. For this home, the decision was to remove the accumulated finishes and prepare the exposed wood rather than try to hide the variation beneath more coating.
This reasoning aligns with Sashco’s preparation guidance: compatibility matters, and thick old layers or substances such as waxes, non-drying oils, and silicones can interfere with adhesion. That is general guidance; we are not claiming those particular substances were identified on this house.
Perma-Chink likewise explains that Lifeline should go onto bare wood or a sound existing Lifeline finish. Its comparison of stripping, sanding, and blasting makes another important point: there is no universally best removal method. The existing finish, wood condition, and test results should guide the choice.
Uniformity starts with the surface beneath the color.
The aim on this project: remove legacy layers, retain log character, and prepare for the compatible finish system.04 / The confirmed work
Blasting. Sanding. Careful priming.
The confirmed sequence on this Granby home was straightforward. Each stage served a different purpose; primer was not a substitute for removing the old layers or refining the surface afterward.
- Remove the old finishes with media blasting.
Professional media blasting removed the accumulated coatings. The exact media and equipment settings are not specified in this project record; they should not be inferred from the photos.
- Follow with sanding.
Sanding followed blasting to refine the wood surface while retaining the logs’ character. Sashco’s sound-wood guidance explains why this matters: blasting can remove stubborn finishes, but technique matters and secondary preparation may be needed. Its preparation guidance also calls for removing felting after blasting.
- Apply Prelude to the wood, not the chinking.
Perma-Chink Prelude primer was carefully applied to the prepared wood, avoiding the existing chinking. This stage was intended to support more uniform absorption in the compatible Lifeline finishing system. It was not the final exterior coating.
Guidance versus the job record: manufacturer instructions also address abrasive selection, cleaning, rinsing, drying, and application conditions. Sashco discusses 60–80-grit sanding; Perma-Chink’s finish-removal guidance warns that a sanded wall is not yet clean and advises against exterior sanding finer than 80 grit. These are preparation references, not a claim that a particular grit, cleaning procedure, weather window, or moisture reading was documented here.
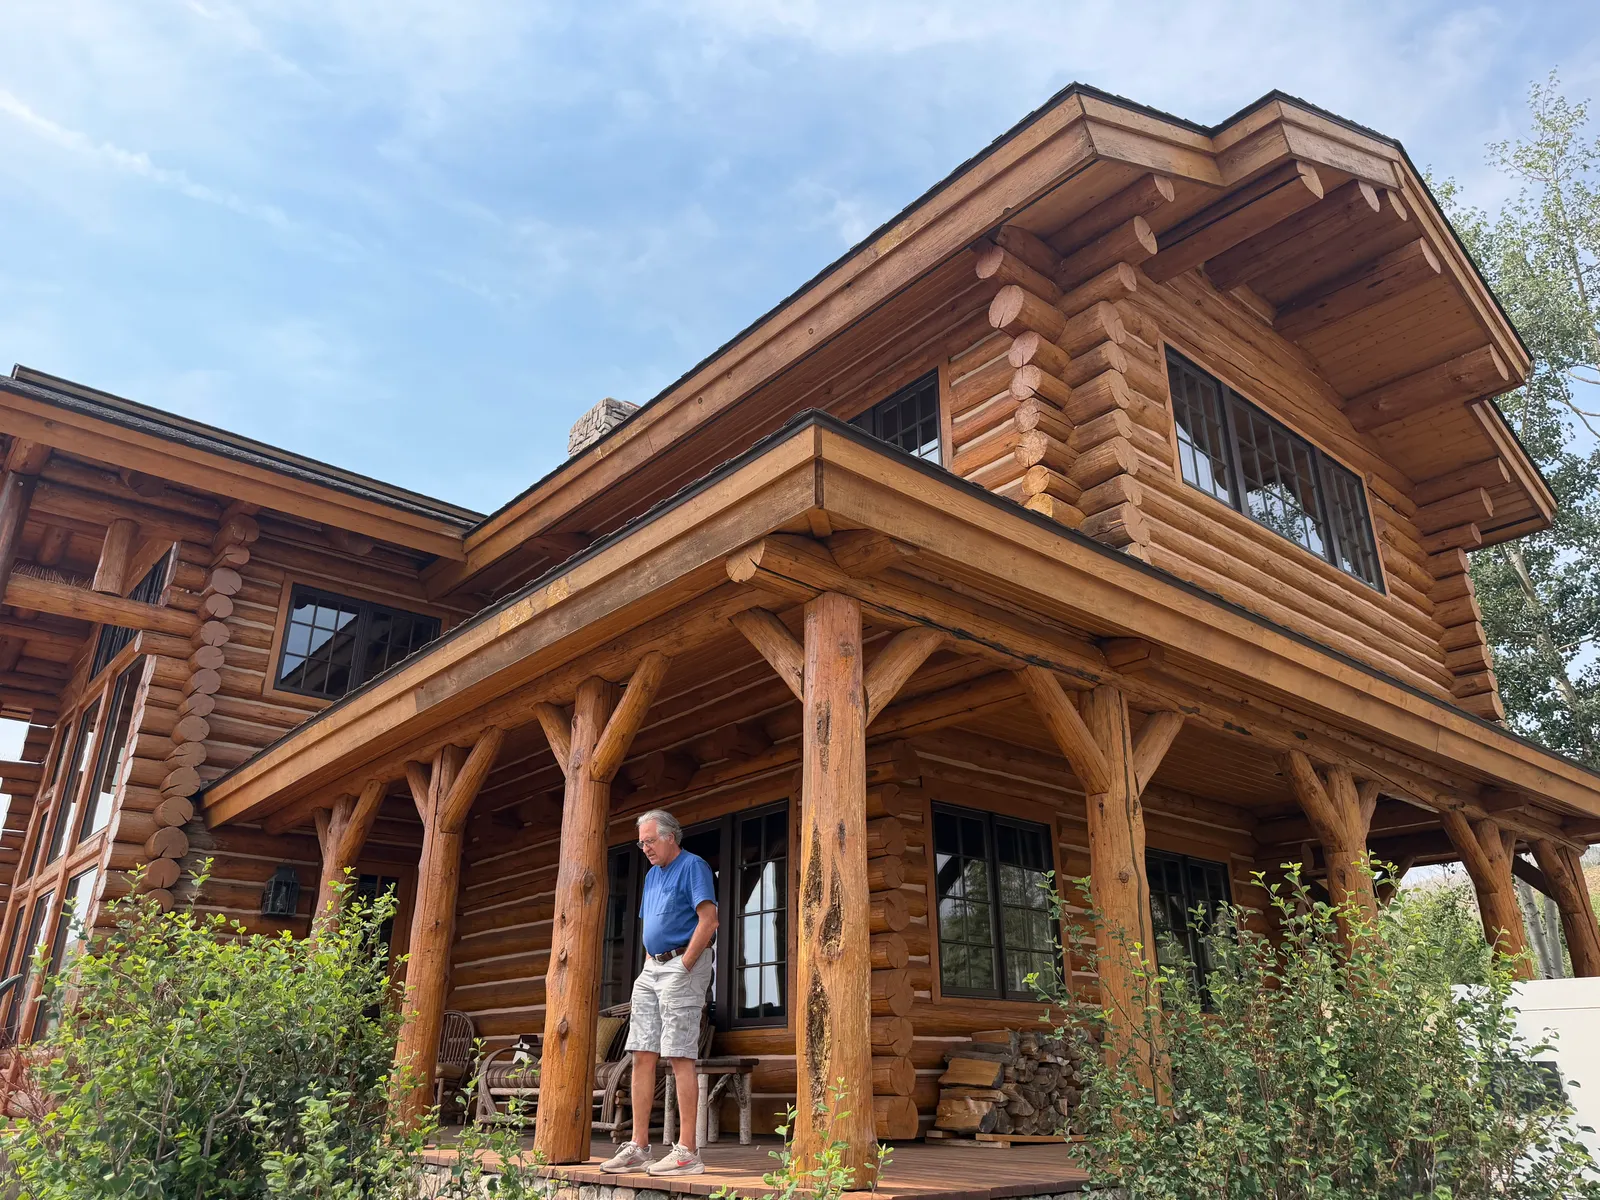 Before / Corner + porch
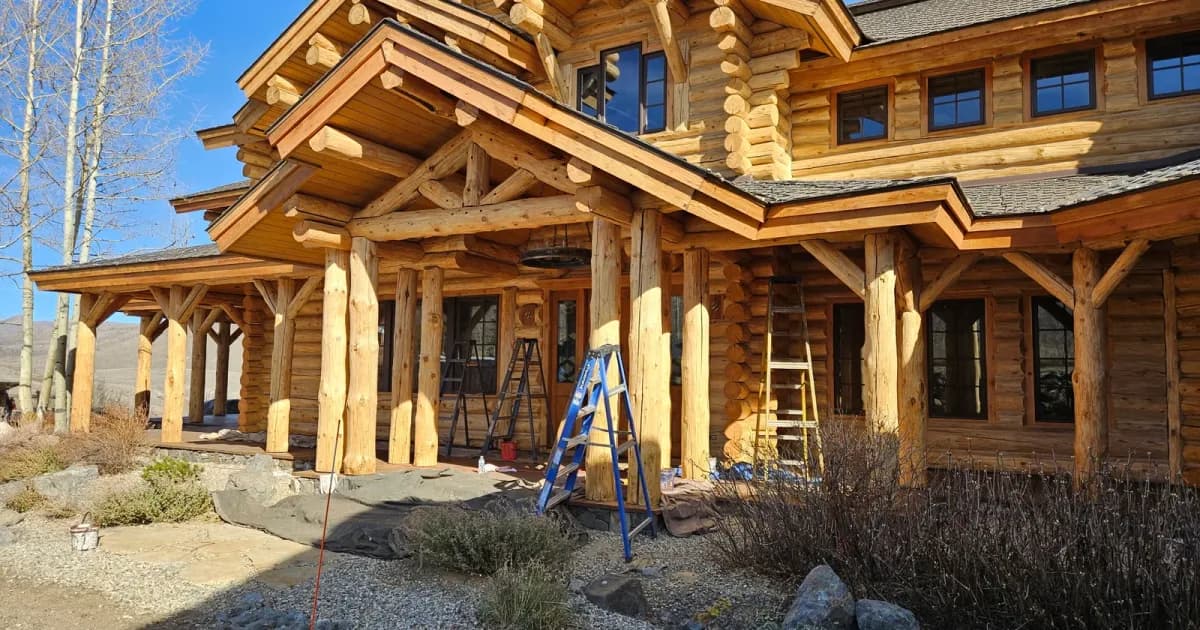
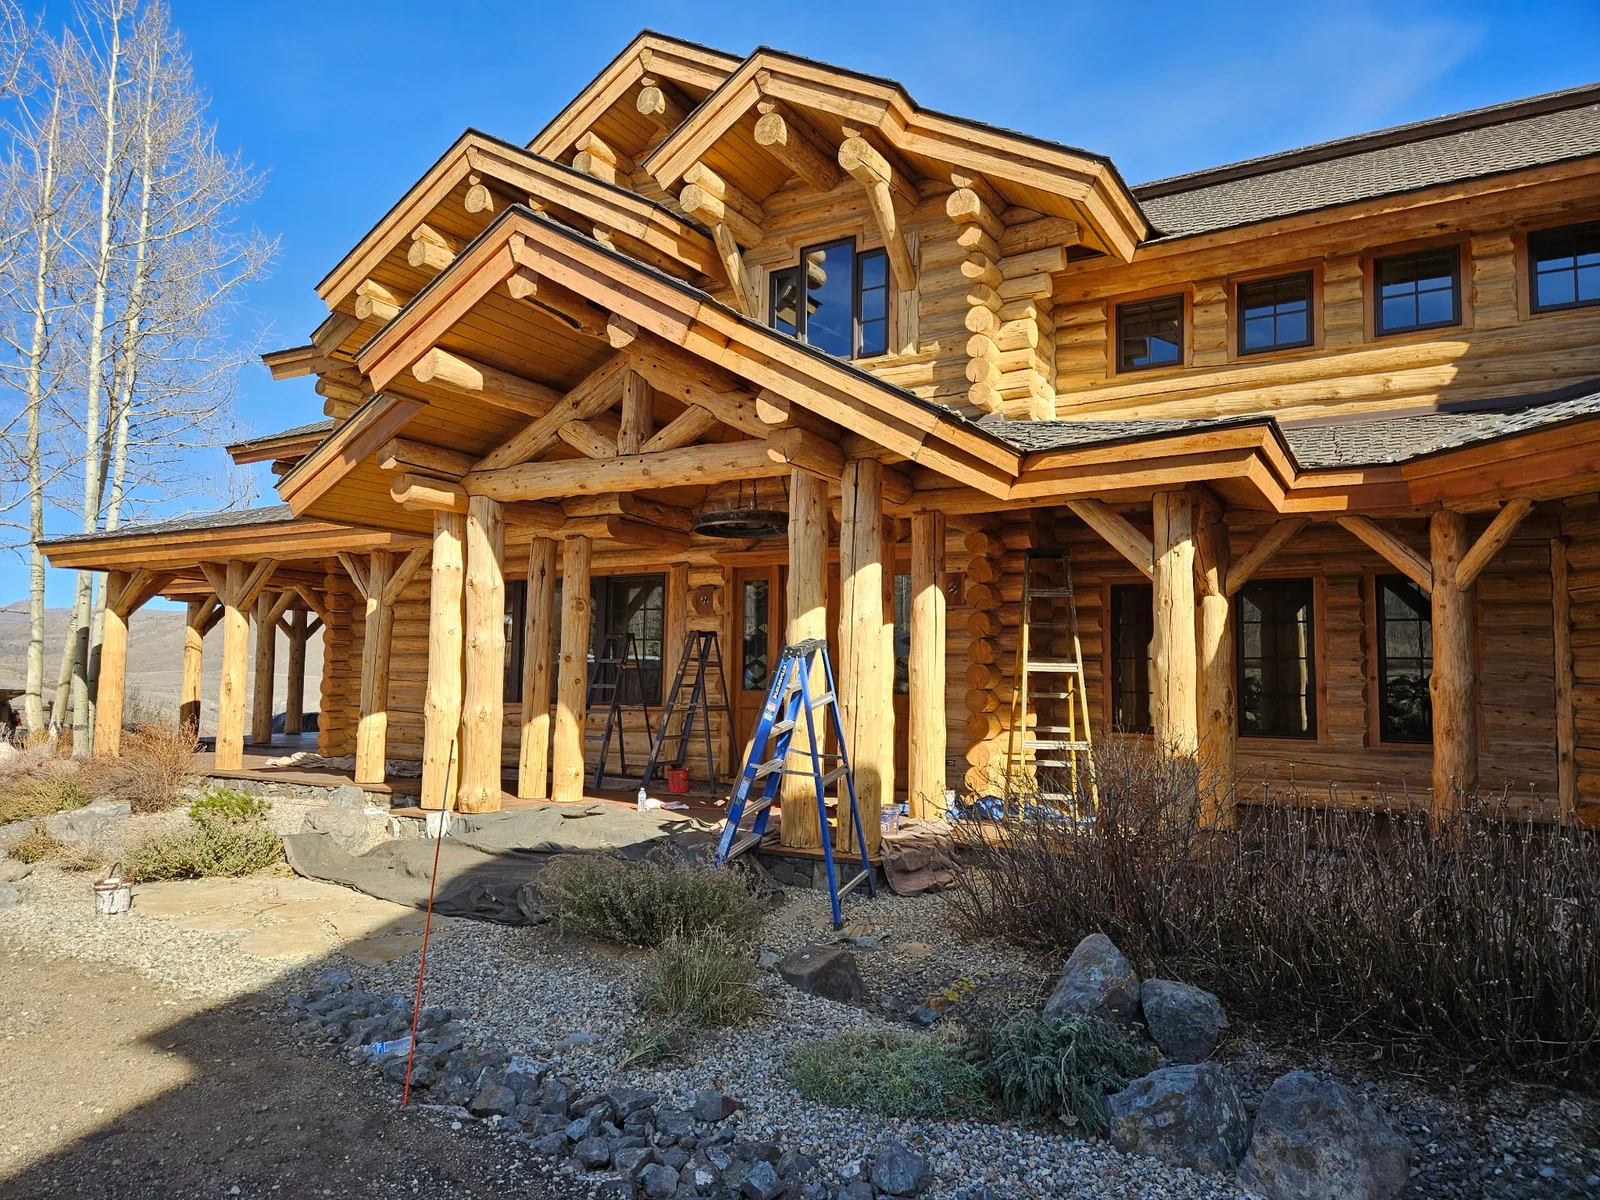 Prepared + Prelude / Entry porch
05 / The primer decision
Why Prelude fit this home
The project’s challenge was uniformity after finish removal. Perma-Chink explains in its guidance for blasted wood surfaces that blasting increases surface porosity, and uneven absorption can lead to darker or blotchy-looking stain. Prelude fills surface pores to help promote a more uniform result under Lifeline finishes.
For this project’s blasted-and-sanded spruce and uniformity goal, the Perma-Chink system was the best fit. That is a project-specific decision—not a claim that Perma-Chink is universally better than Sashco, or that one brand’s primer should be mixed with another brand’s stain.
The Prelude technical guidance recommends the primer after blasting or uneven sanding and is explicit that it must never be the final coat. Our Perma-Chink product overview explains how products serve different roles within a coating system.
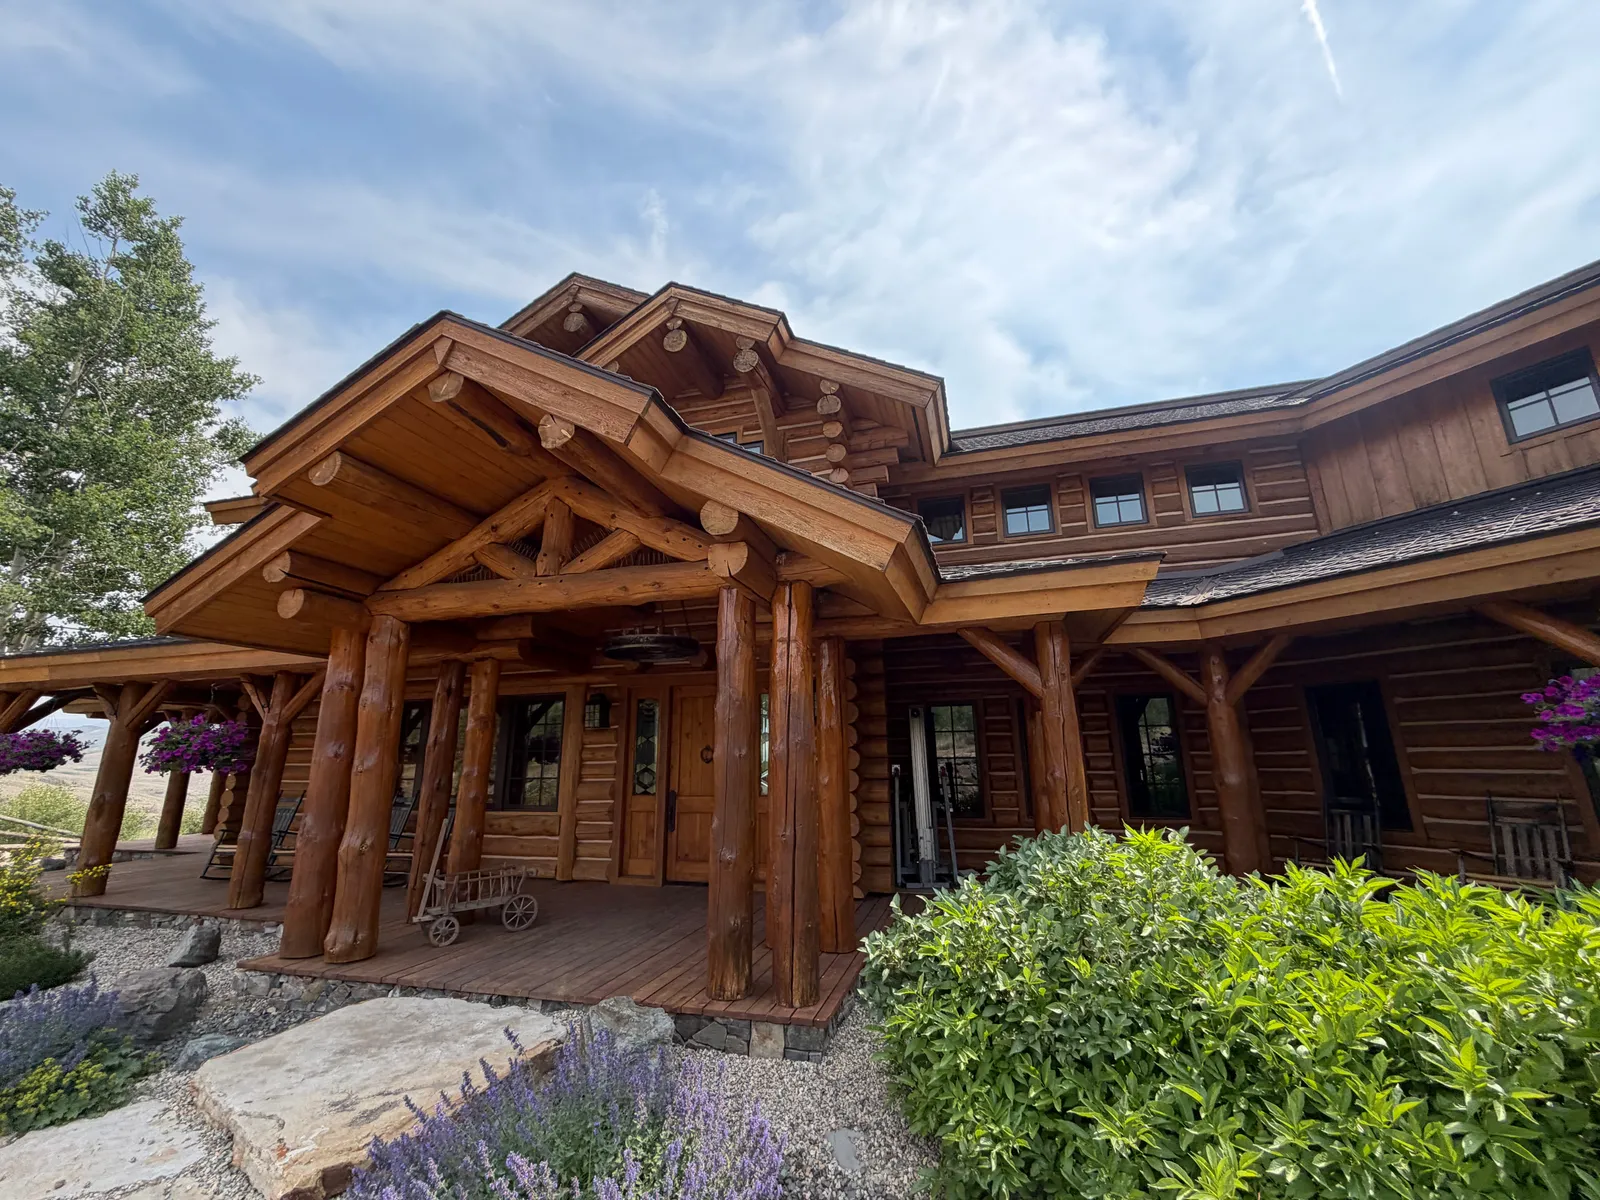 Before / Entry portico
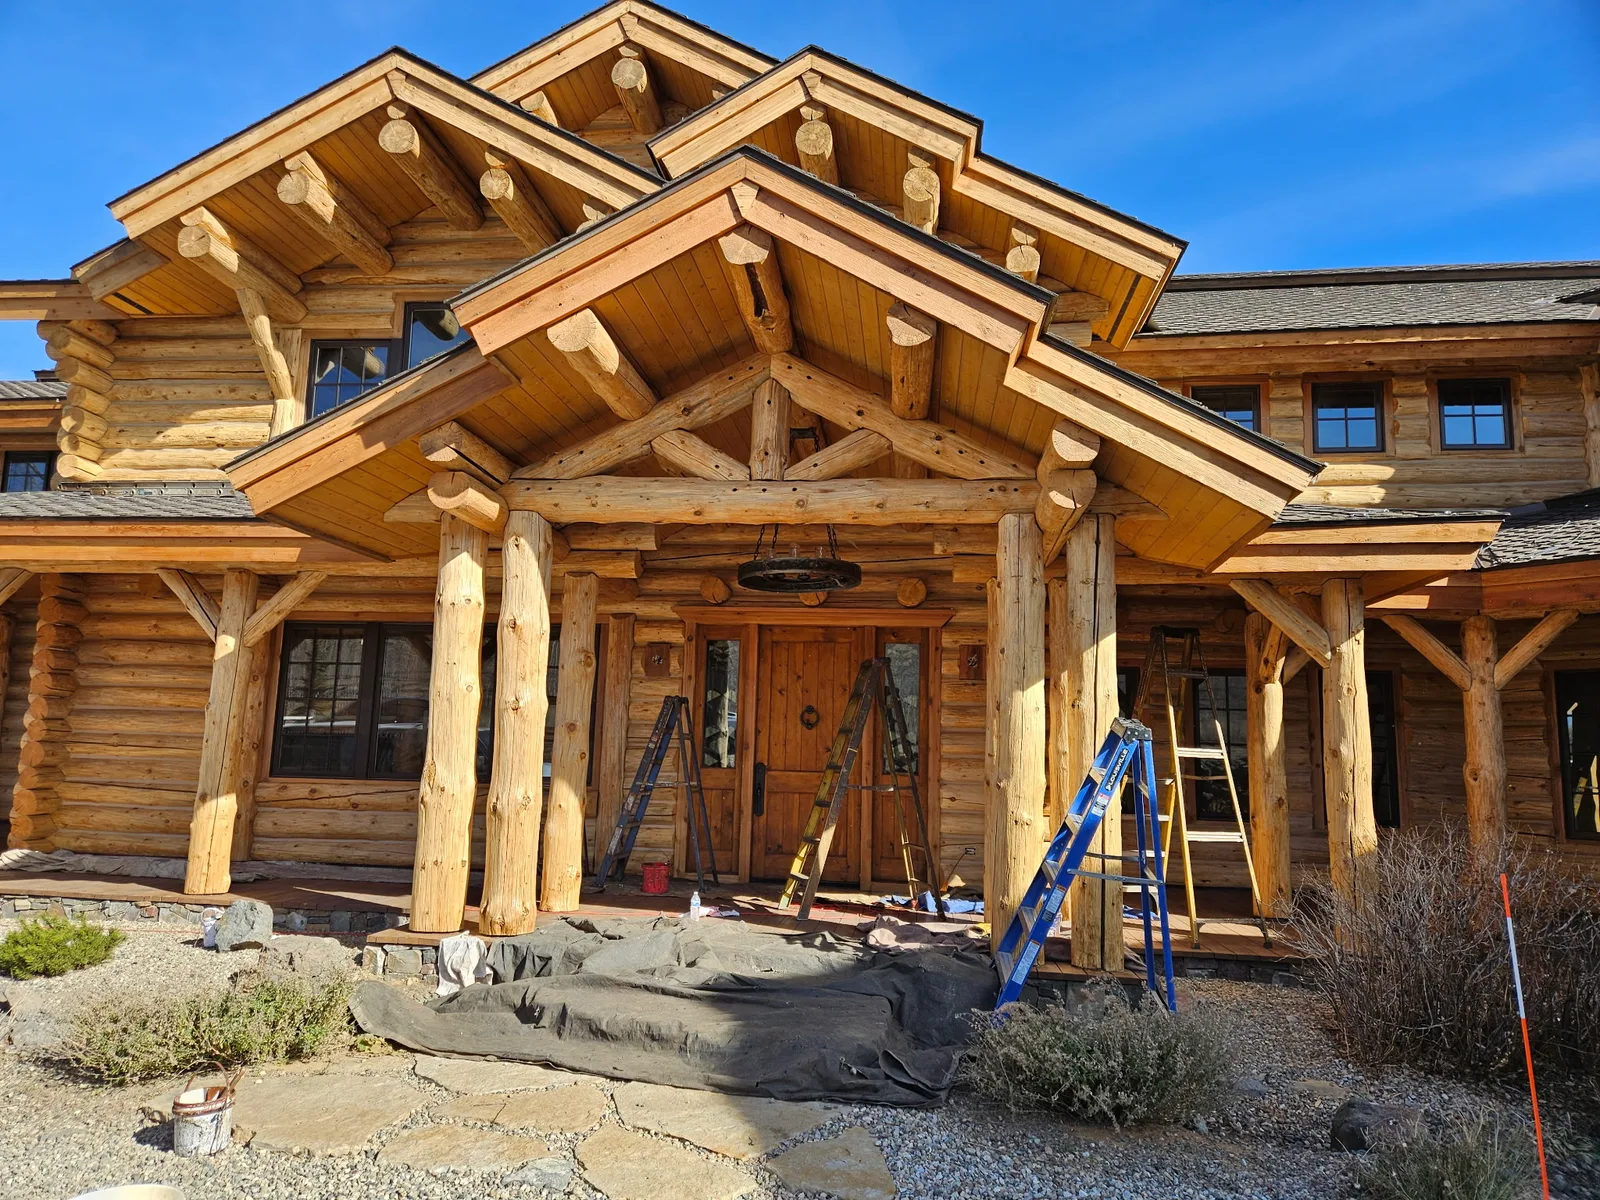 Prepared + Prelude / Portico
06 / Around the home
A preparation-stage photo notebook
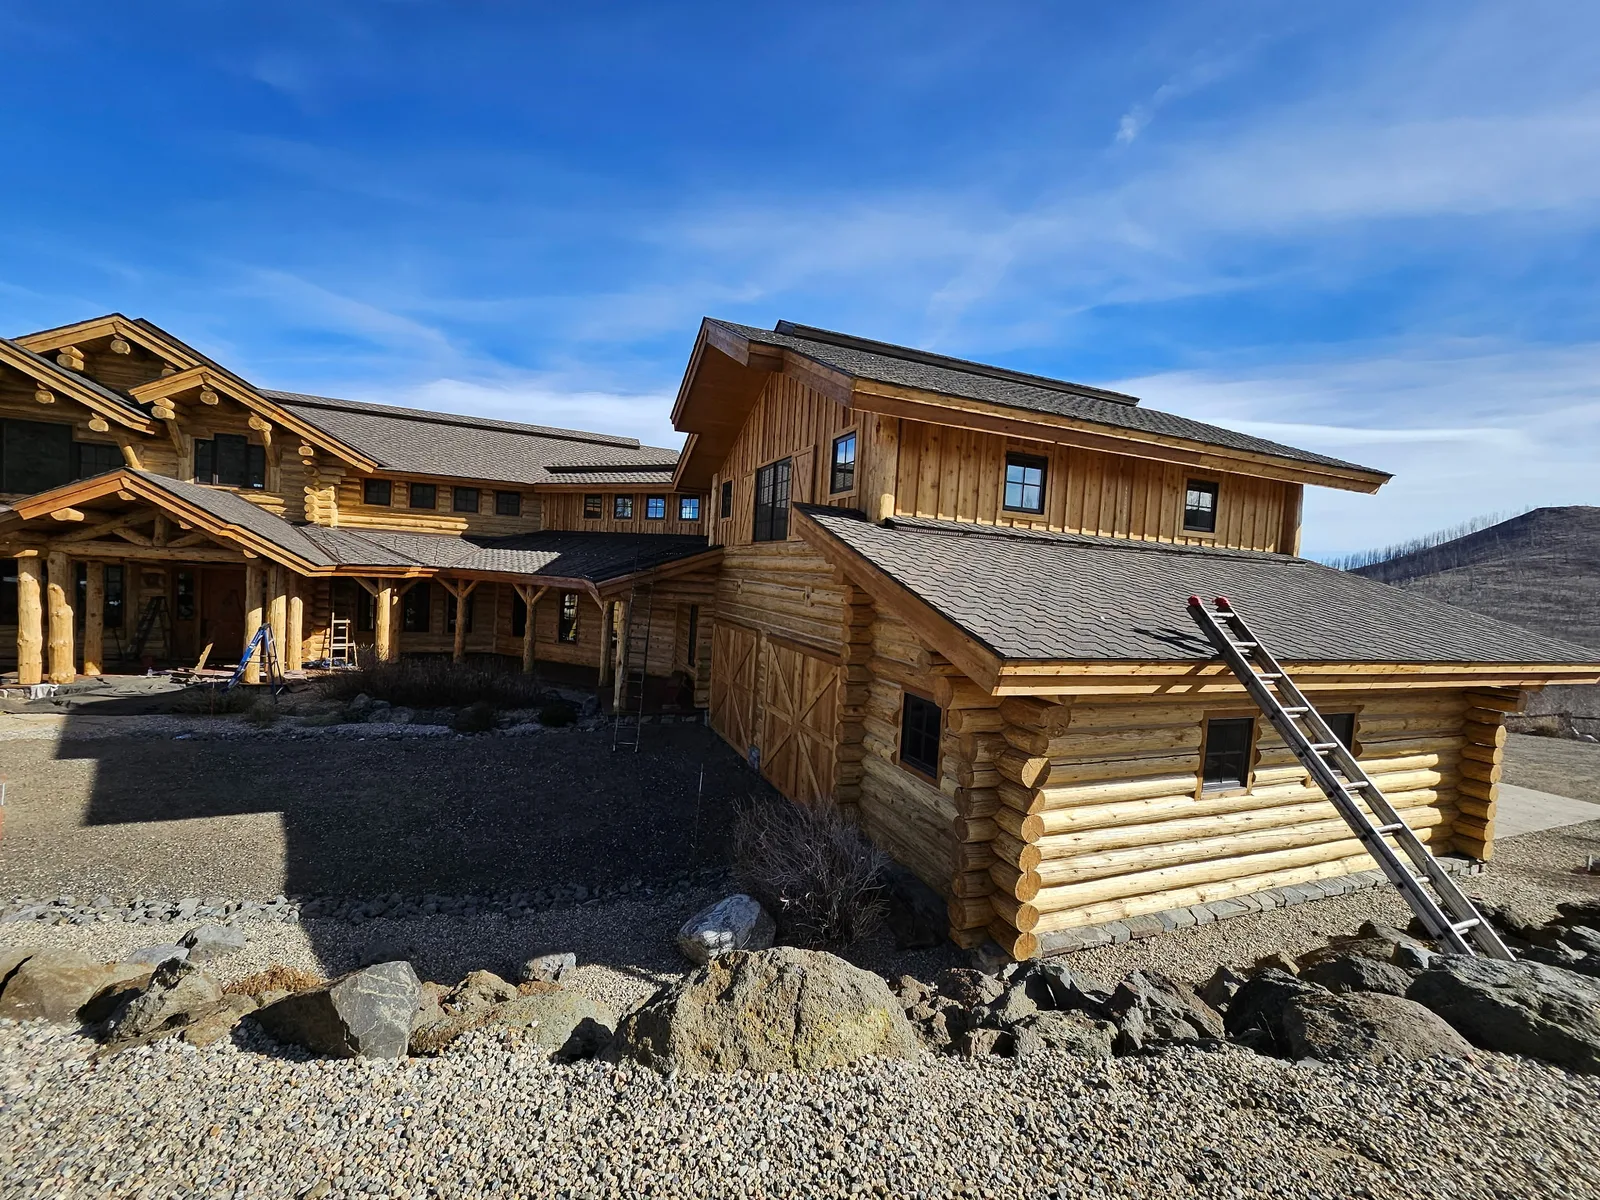
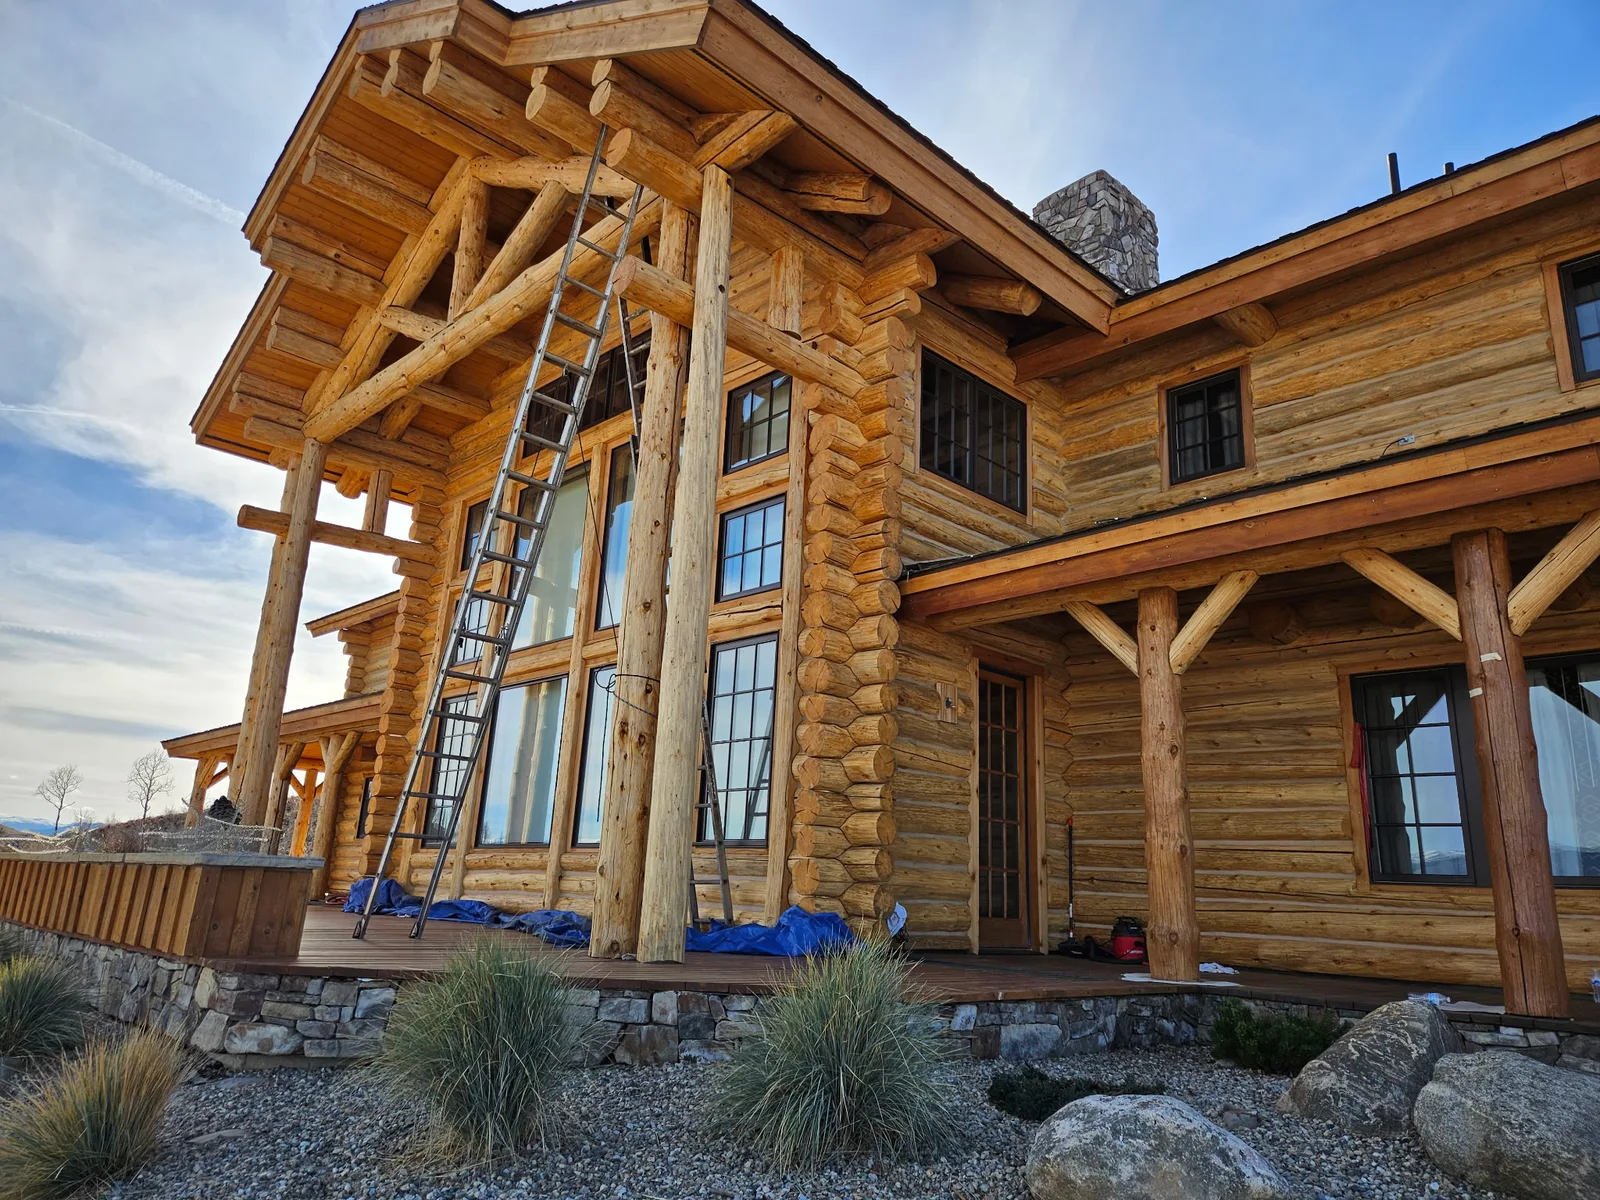
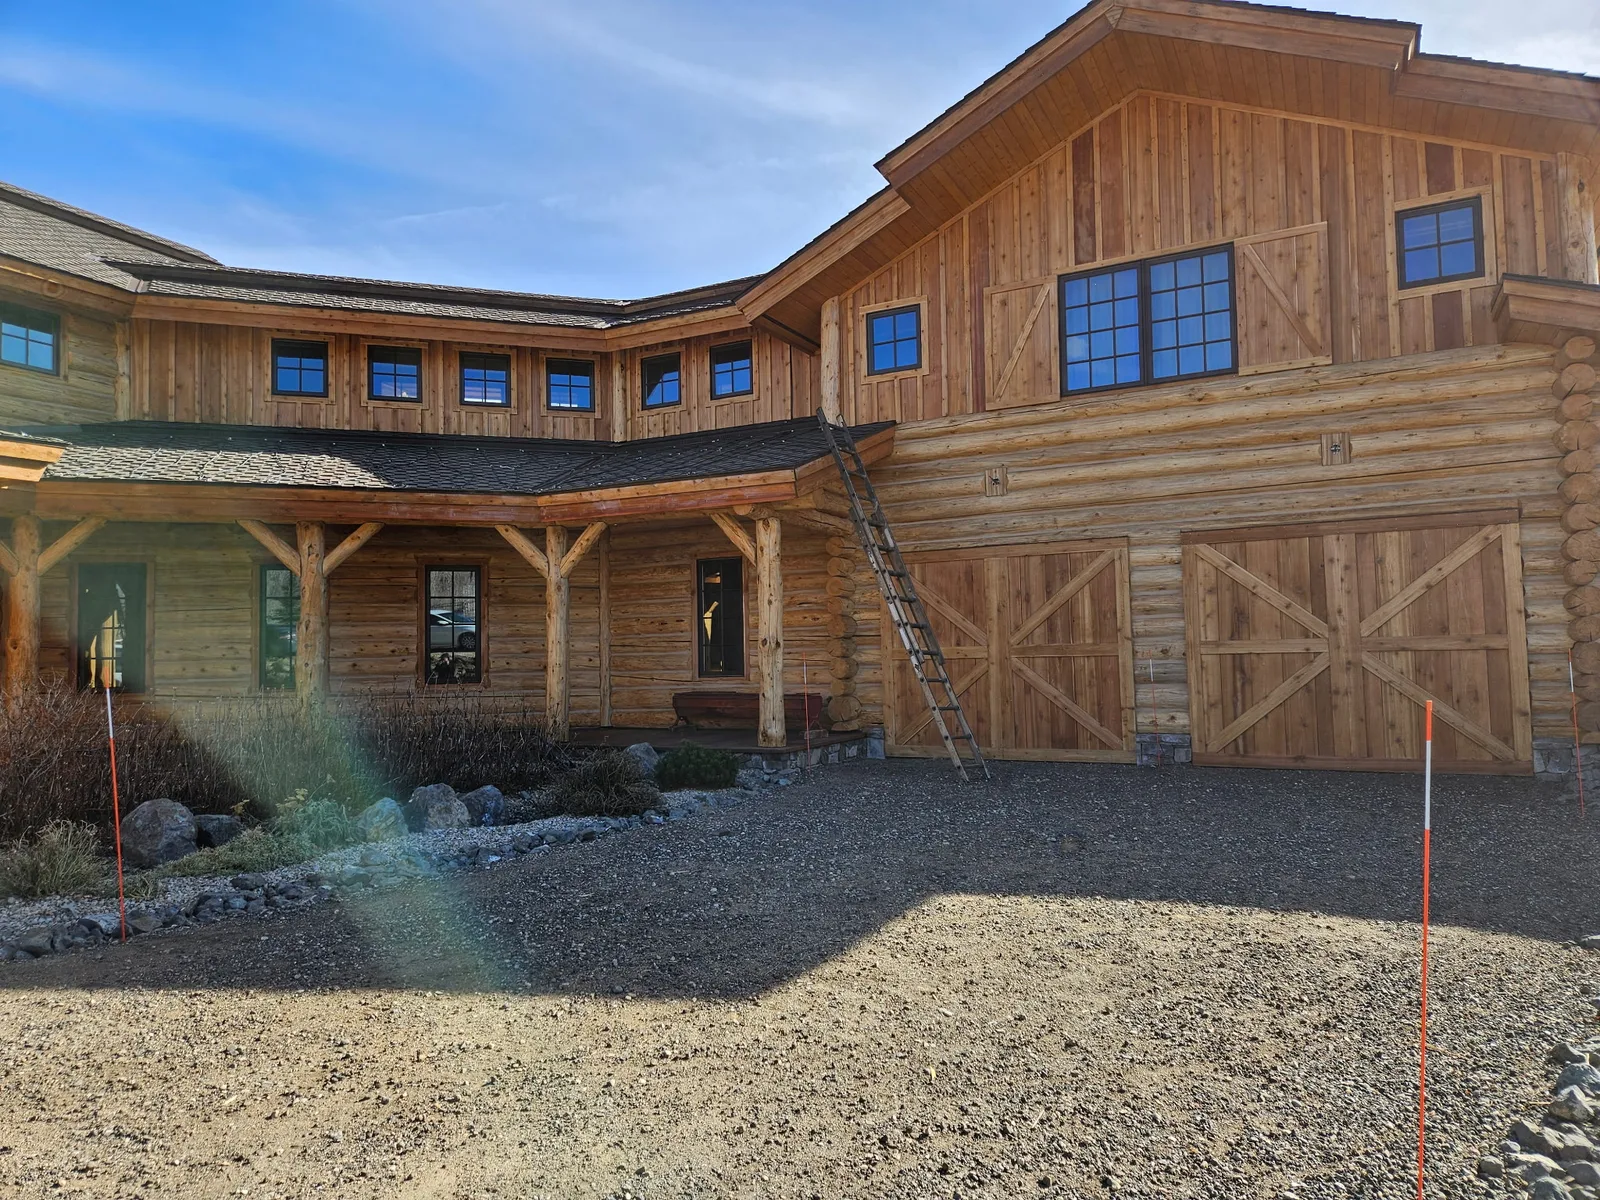
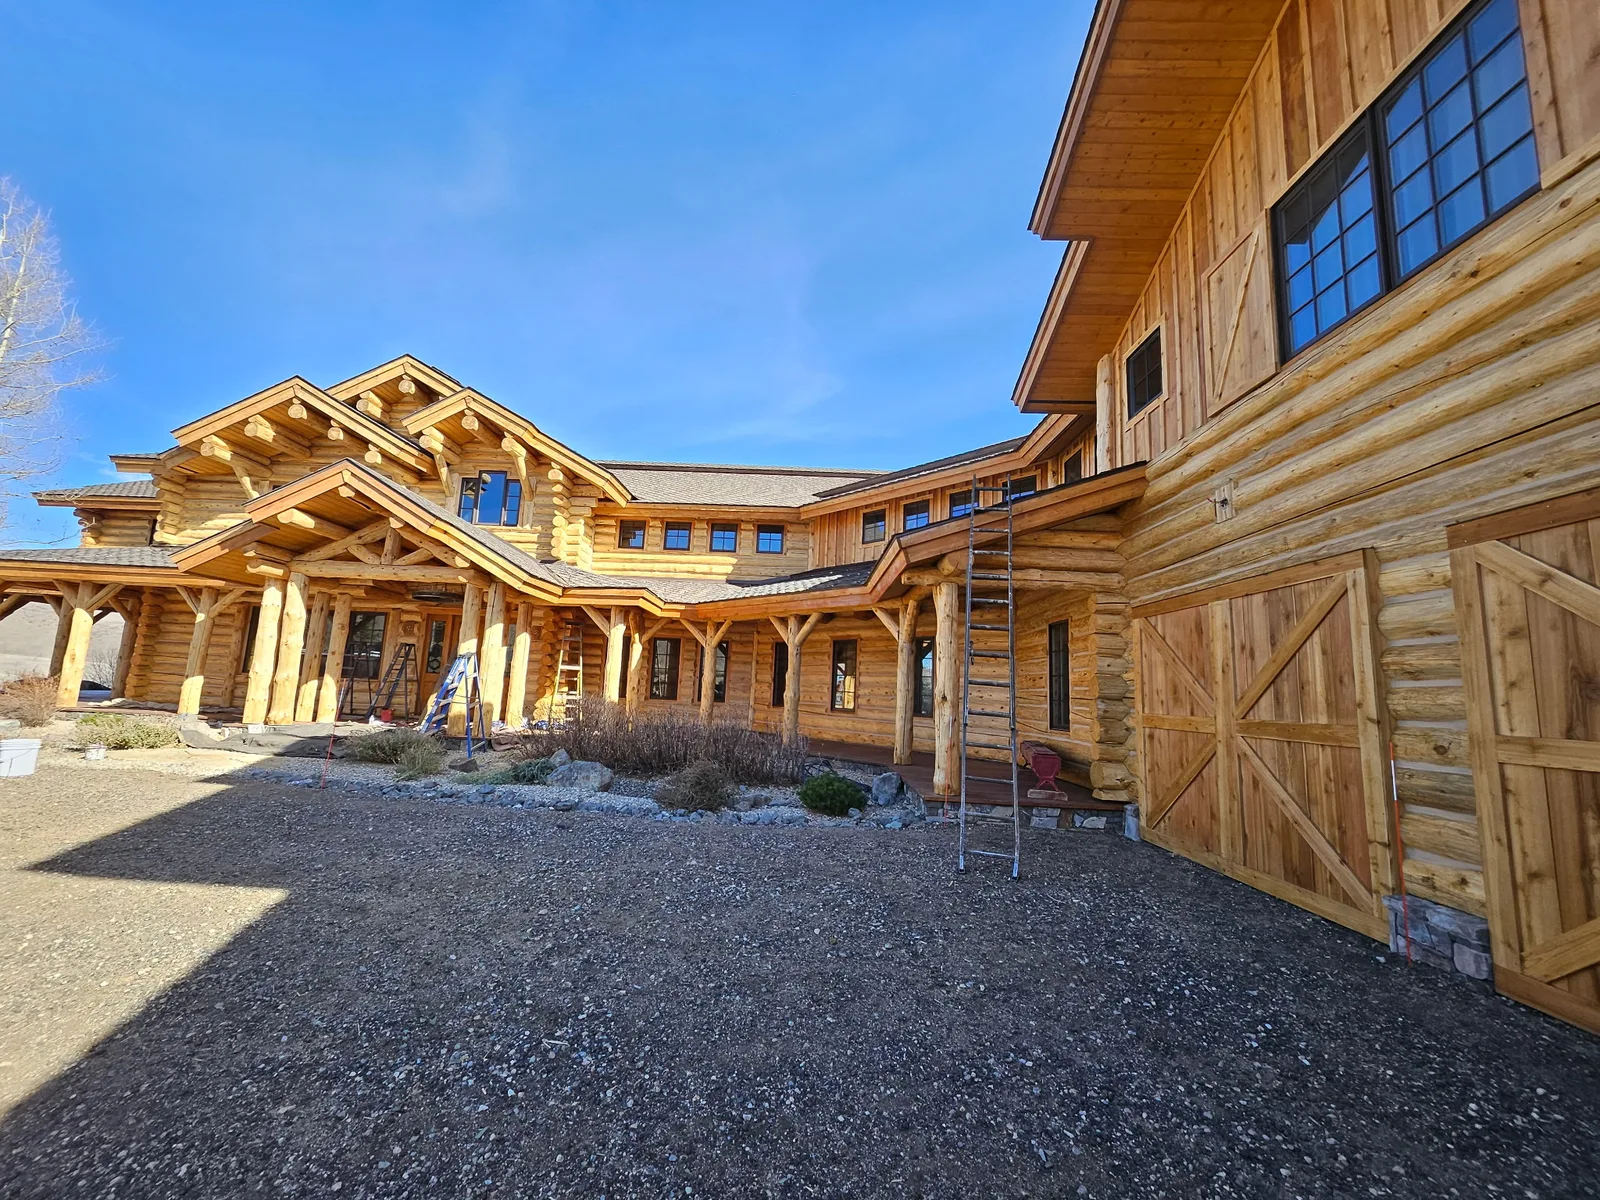
Wide elevations and structural details tell complementary parts of the story. This complete eight-photo notebook brings the earlier preparation views together with the garage, courtyard, and tall window wall. Every photograph below is from the preparation-and-Prelude stage, before final stain.
07 / What comes next
Prepared is not protected for the long term
The next finishing stage still requires the appropriate compatible Lifeline coating system, following the current product instructions and site conditions. This record does not specify a final stain color or document a final coating application. Planning the staining stage means treating preparation, primer, and final protection as connected but distinct decisions.
The purpose is more than appearance. The USDA Forest Products Laboratory’s 2021 Finishing Wood chapter emphasizes exterior protection from water, sunlight, and weathering. A lighter-looking primed wall is a step toward that goal, not proof that the full protective system is complete.
Once the finish system is completed, ongoing care should include regular inspection of the coating, checks, log ends, fascia, chinking edges, and transitions around openings. Look for changes rather than waiting for widespread wear, and choose cleaning or recoating procedures that suit the installed system. Our log home maintenance guidance is a starting point; the right next action depends on an on-site assessment.
Have a home with an uncertain coating history? Start with what you know: location, clear photographs, previous product names if available, and the areas that concern you. Talk with Log Home Finishing LLC about an assessment before choosing another coat.
References / Reviewed November 12, 2026
Sources behind the preparation decisions
Manufacturer and research references support the general explanations in this article. They do not independently verify the project, identify the old coatings, or certify a finished result. Project history and work sequence come from the owner; photographs are owner-supplied jobsite records.
- Sashco — A Better Way to Stain: Step 2, Proper Preparation. Compatibility, interfering residues and old layers, removal of felting, and sanding guidance.
- Sashco — Sound Wood Before Staining Your Log Home. Clean, sound wood, the role of blasting, and the possible need for secondary preparation.
- Perma-Chink — How to Remove Existing Finishes (PDF). Suitable Lifeline substrates, professional finish removal, cleaning after sanding, and exterior sanding limits.
- Perma-Chink — What Options Do I Have for Refinishing a Log Home? Tradeoffs between chemical stripping, sanding, and blasting; selection depends on conditions.
- Perma-Chink — The Best Sealer and Primer for Blasted Wood Surfaces. Porosity, uneven stain absorption, and Prelude’s role under Lifeline finishes.
- Perma-Chink — Prelude Clear Wood Primer (PDF). Use after blasting or uneven sanding; primer is never the final coat.
- USDA Forest Products Laboratory — Finishing Wood, Wood Handbook (2021). Exterior finishing as protection from water, sunlight, and weathering, as well as appearance.