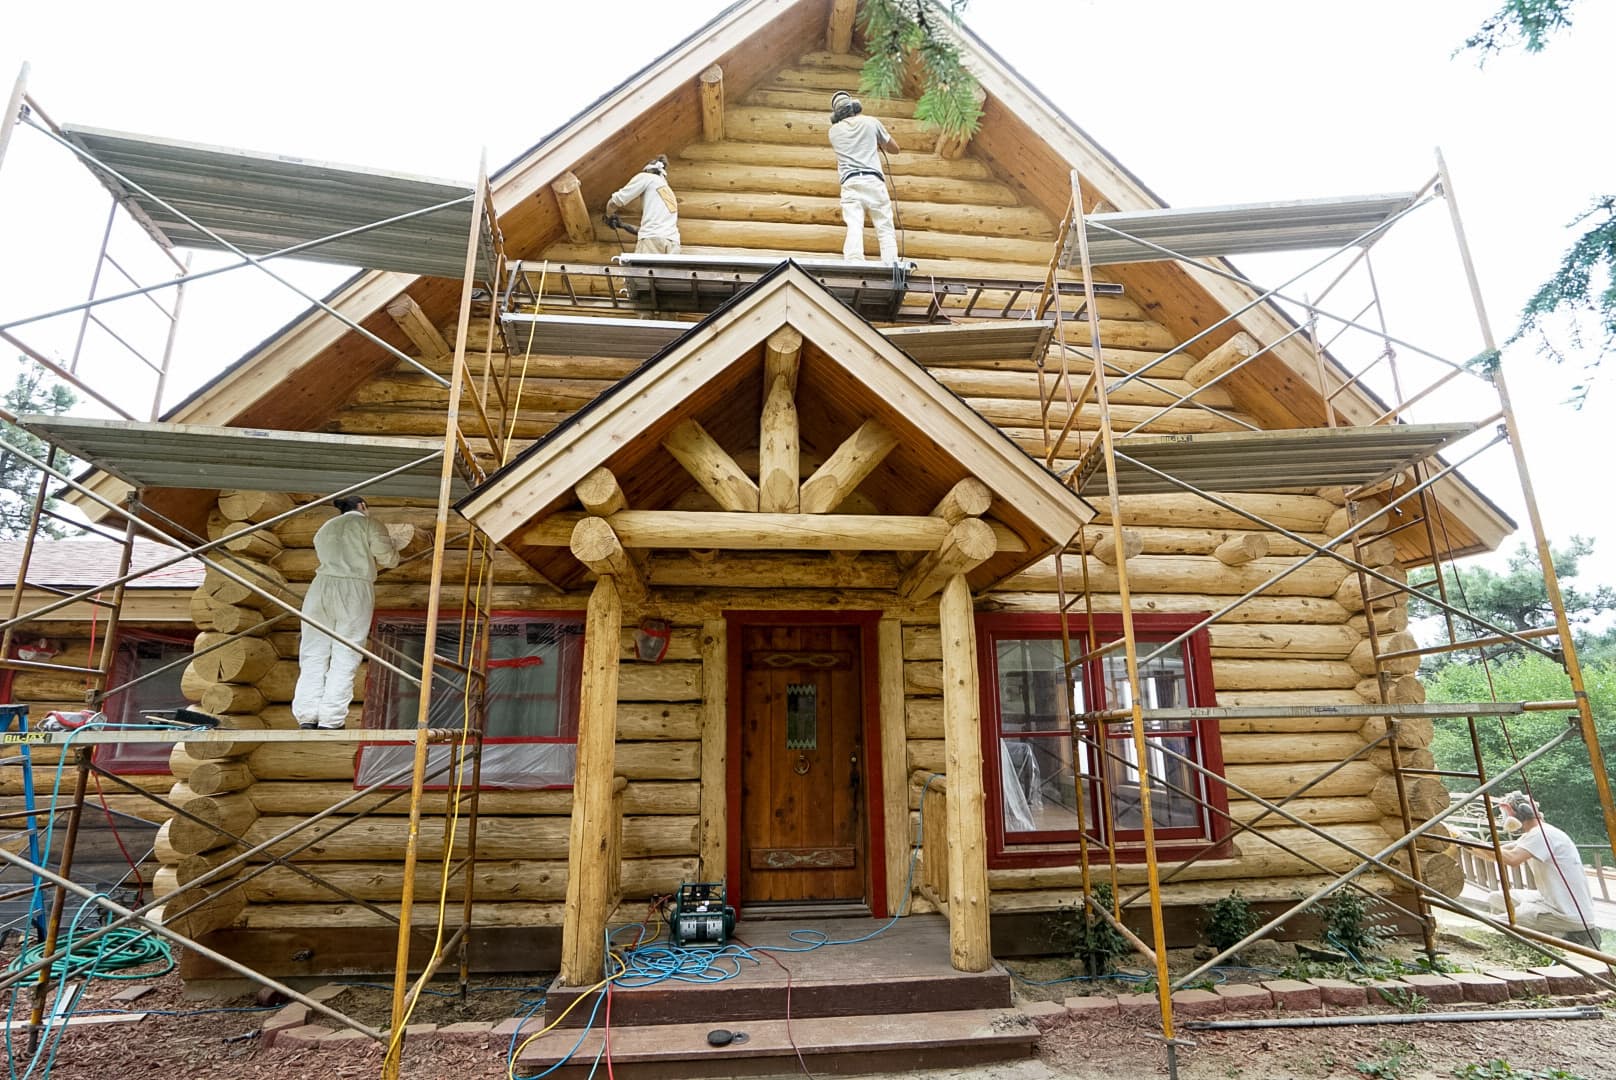
Log Home Staining Colorado: Professional Services & Expert Guide

The problem this guide helps you solve
Choosing a stain without identifying the existing finish can lead to an incompatible or poorly bonded coating.
What to understand before taking action
Help owners consider wood condition, exposure, preparation and the complete product system before selecting a color.
What this means for your home: Check the manufacturer’s current instructions for topcoats, drying and maintenance. Different products are not interchangeable, and an attractive color does not establish that a wall is dry or sound.
Maintaining the stain on a log home is essential to preserve its beauty and protect the wood from environmental damage. Here is a comprehensive guide to help you maintain the stain on your log home:

1. Regular Inspection
- Frequency: Inspect your log home semi-annually, ideally in spring and fall.
- Focus Areas: Pay special attention to areas exposed to harsh weather conditions, including eaves, window sills, and bases of walls.
2. Cleaning
- Tools Needed: Soft-bristle brush, hose, and a mild detergent or specialized wood cleaner.
- Method: Gently scrub the surface to remove dirt, mildew, and algae. Rinse thoroughly with water. Avoid power washing as it can damage the wood fibers.
3. Repairing Damage
- Check for Cracks: Fill any small cracks or checks with a high-quality exterior caulk. This prevents moisture from entering and causing rot.
- Address Mold or Mildew: Treat affected areas with a commercial mold remover or a vinegar-water solution.
4. Assessing Stain Condition
- Fading or Peeling: If the stain is fading or peeling, it may be time for a new coat.
- Water Bead Test: Sprinkle water on the logs. If it beads up, the stain is still effective. If it soaks in, re-staining is necessary.
5. Re-staining
- Choose the Right Stain: Use a high-quality, UV-resistant stain specifically designed for log homes like Permachink Ultra-7. This product offers excellent UV protection and long-lasting durability.
- Preparation: Lightly sand the logs to remove the old stain and ensure a smooth surface. Clean the logs again to remove any dust.
- Application: Apply the stain using a brush, roller, or sprayer. Start from the top, working your way down to avoid streaks and drips. Follow the stain manufacturer's instructions for drying times and additional coats.
6. Sealing
- Apply a Clear Sealer: After staining, apply a compatible sealer such as Permachink Lifeline Advance to enhance protection against UV rays and weathering.
7. Maintenance Tips
- Vegetation: Keep plants and shrubs trimmed back to allow air circulation around the logs.
- Gutters and Downspouts: Ensure these are functioning correctly to prevent water from splashing onto the logs.
- Snow Removal: In winter, remove snow build-up to prevent moisture damage.
8. Common Mistakes to Avoid
- Skipping Surface Preparation: Failing to properly clean and sand the logs before staining can lead to poor adhesion and uneven color.
- Ignoring Manufacturer Instructions: Not following the stain manufacturer's instructions for application and drying times can result in suboptimal protection and finish.
- Using Incompatible Products: Mixing different types of stains (oil-based with water-based) can cause peeling or lack of adhesion. Always ensure compatibility.
- Applying Stain in Poor Conditions: Avoid staining in extreme temperatures or during high humidity, as this can affect the drying process and final appearance.
- Overlooking Regular Maintenance: Neglecting routine inspections and cleaning can lead to long-term damage that is more difficult and costly to repair.
9. Selecting a Professional for Staining Services
- Research and Recommendations: Ask for recommendations from friends or neighbors who own log homes. Look for reviews and testimonials online.
- Experience and Expertise: Ensure the professional has ample experience with log home staining specifically, as it requires different skills compared to standard home painting.
- Portfolio and References: Request to see a portfolio of their previous work and ask for references to verify the quality and satisfaction of past clients.
- Insurance and Licensing: Confirm that the contractor is licensed and insured to protect yourself from any potential liabilities.
- Estimates and Contracts: Obtain written estimates from multiple contractors, ensuring they include details on the products to be used and the scope of work. Always have a signed contract before work begins.
By regularly maintaining the stain on your log home, utilizing trusted products like Permachink Ultra-7 and Lifeline Advance, and carefully selecting a skilled professional, you not only enhance its aesthetic appeal but also extend the life of the wood, ensuring the home remains a cherished retreat for years to come.
Sources and practical next steps
The references below support the guidance in this article; they do not independently verify project results or endorse our company.
- Perma-Chink Systems: Lifeline Ultra-2 — Manufacturer information for the Ultra-2 stain and Lifeline Advance topcoat system. Any limited manufacturer warranty is subject to its terms, not a maintenance-free service-life promise.
- USDA Forest Products Laboratory: Protecting Log Homes from Decay and Insects (PDF) — Explains moisture pathways, decay, construction details and maintenance of existing log homes. It does not establish a fixed lifespan or a property-value return.
Colorado log home staining. For property-specific guidance, send our team your location, photographs and what you know about previous coatings or repairs.